Bluefin Tuna

Cracking The Code: Bottom Grubbing Giant Bluefin Tuna

Cracking The Code: Bottom Grubbing Giant Bluefin Tuna

Bottom Grubbing Giants  ·  Regal Sword, East of Chatham
Cracking the Code
Location
Regal Sword, E. of Chatham
Month
August
Species
Bluefin Tuna
Primary Lure
Hogy Harness Jig
Depth
150–200 ft

Bottom Grubbing Giants

Starting with what we knew. Narrowing through what we saw. Arriving at the only answer that made sense.

MH
Capt. Mike Hogan
SaltyCape.com  ·  Hogy Lures
August
9 min read
Hogy Harness Jig Tuna Jigging — Regal Sword, East of Chatham

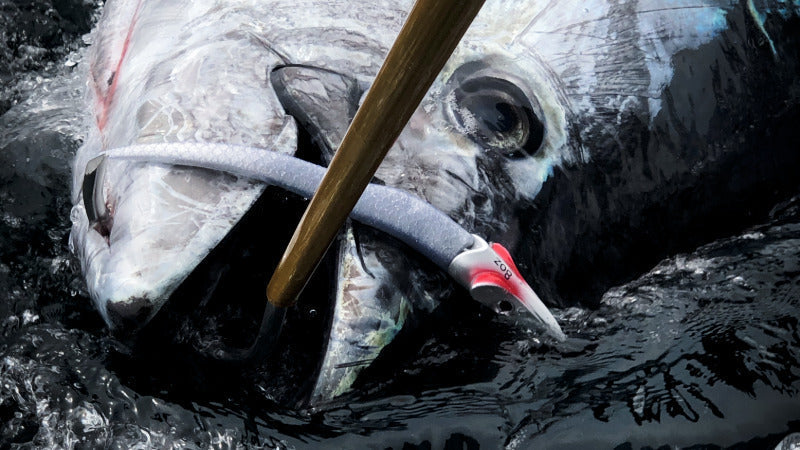
Regal Sword, East of Chatham. The surface was loaded with life. The fish were on the bottom the whole time.

Every tuna trip that’s starting at a known hot spot starts with the same question: where in the water column are they feeding today? The surface conditions, the bait, the fish finder — each one narrows the answer until only one presentation makes sense. This is how that process ran on this trip.

Step 1 Historical Analysis

What the location and season told us before we left the dock

Context that shapes every decision that follows.

Mid-August at the Regal Sword east of Chatham is a reliable big bluefin window. The spot has a mixed bait profile this time of year — sand eels, mackerel, and sea herring are all common. That matters before the anchor drops because it determines the lure range you pre-rig: you want a profile that could plausibly imitate any of the three, not one that commits hard to a single forage type you haven't confirmed yet.

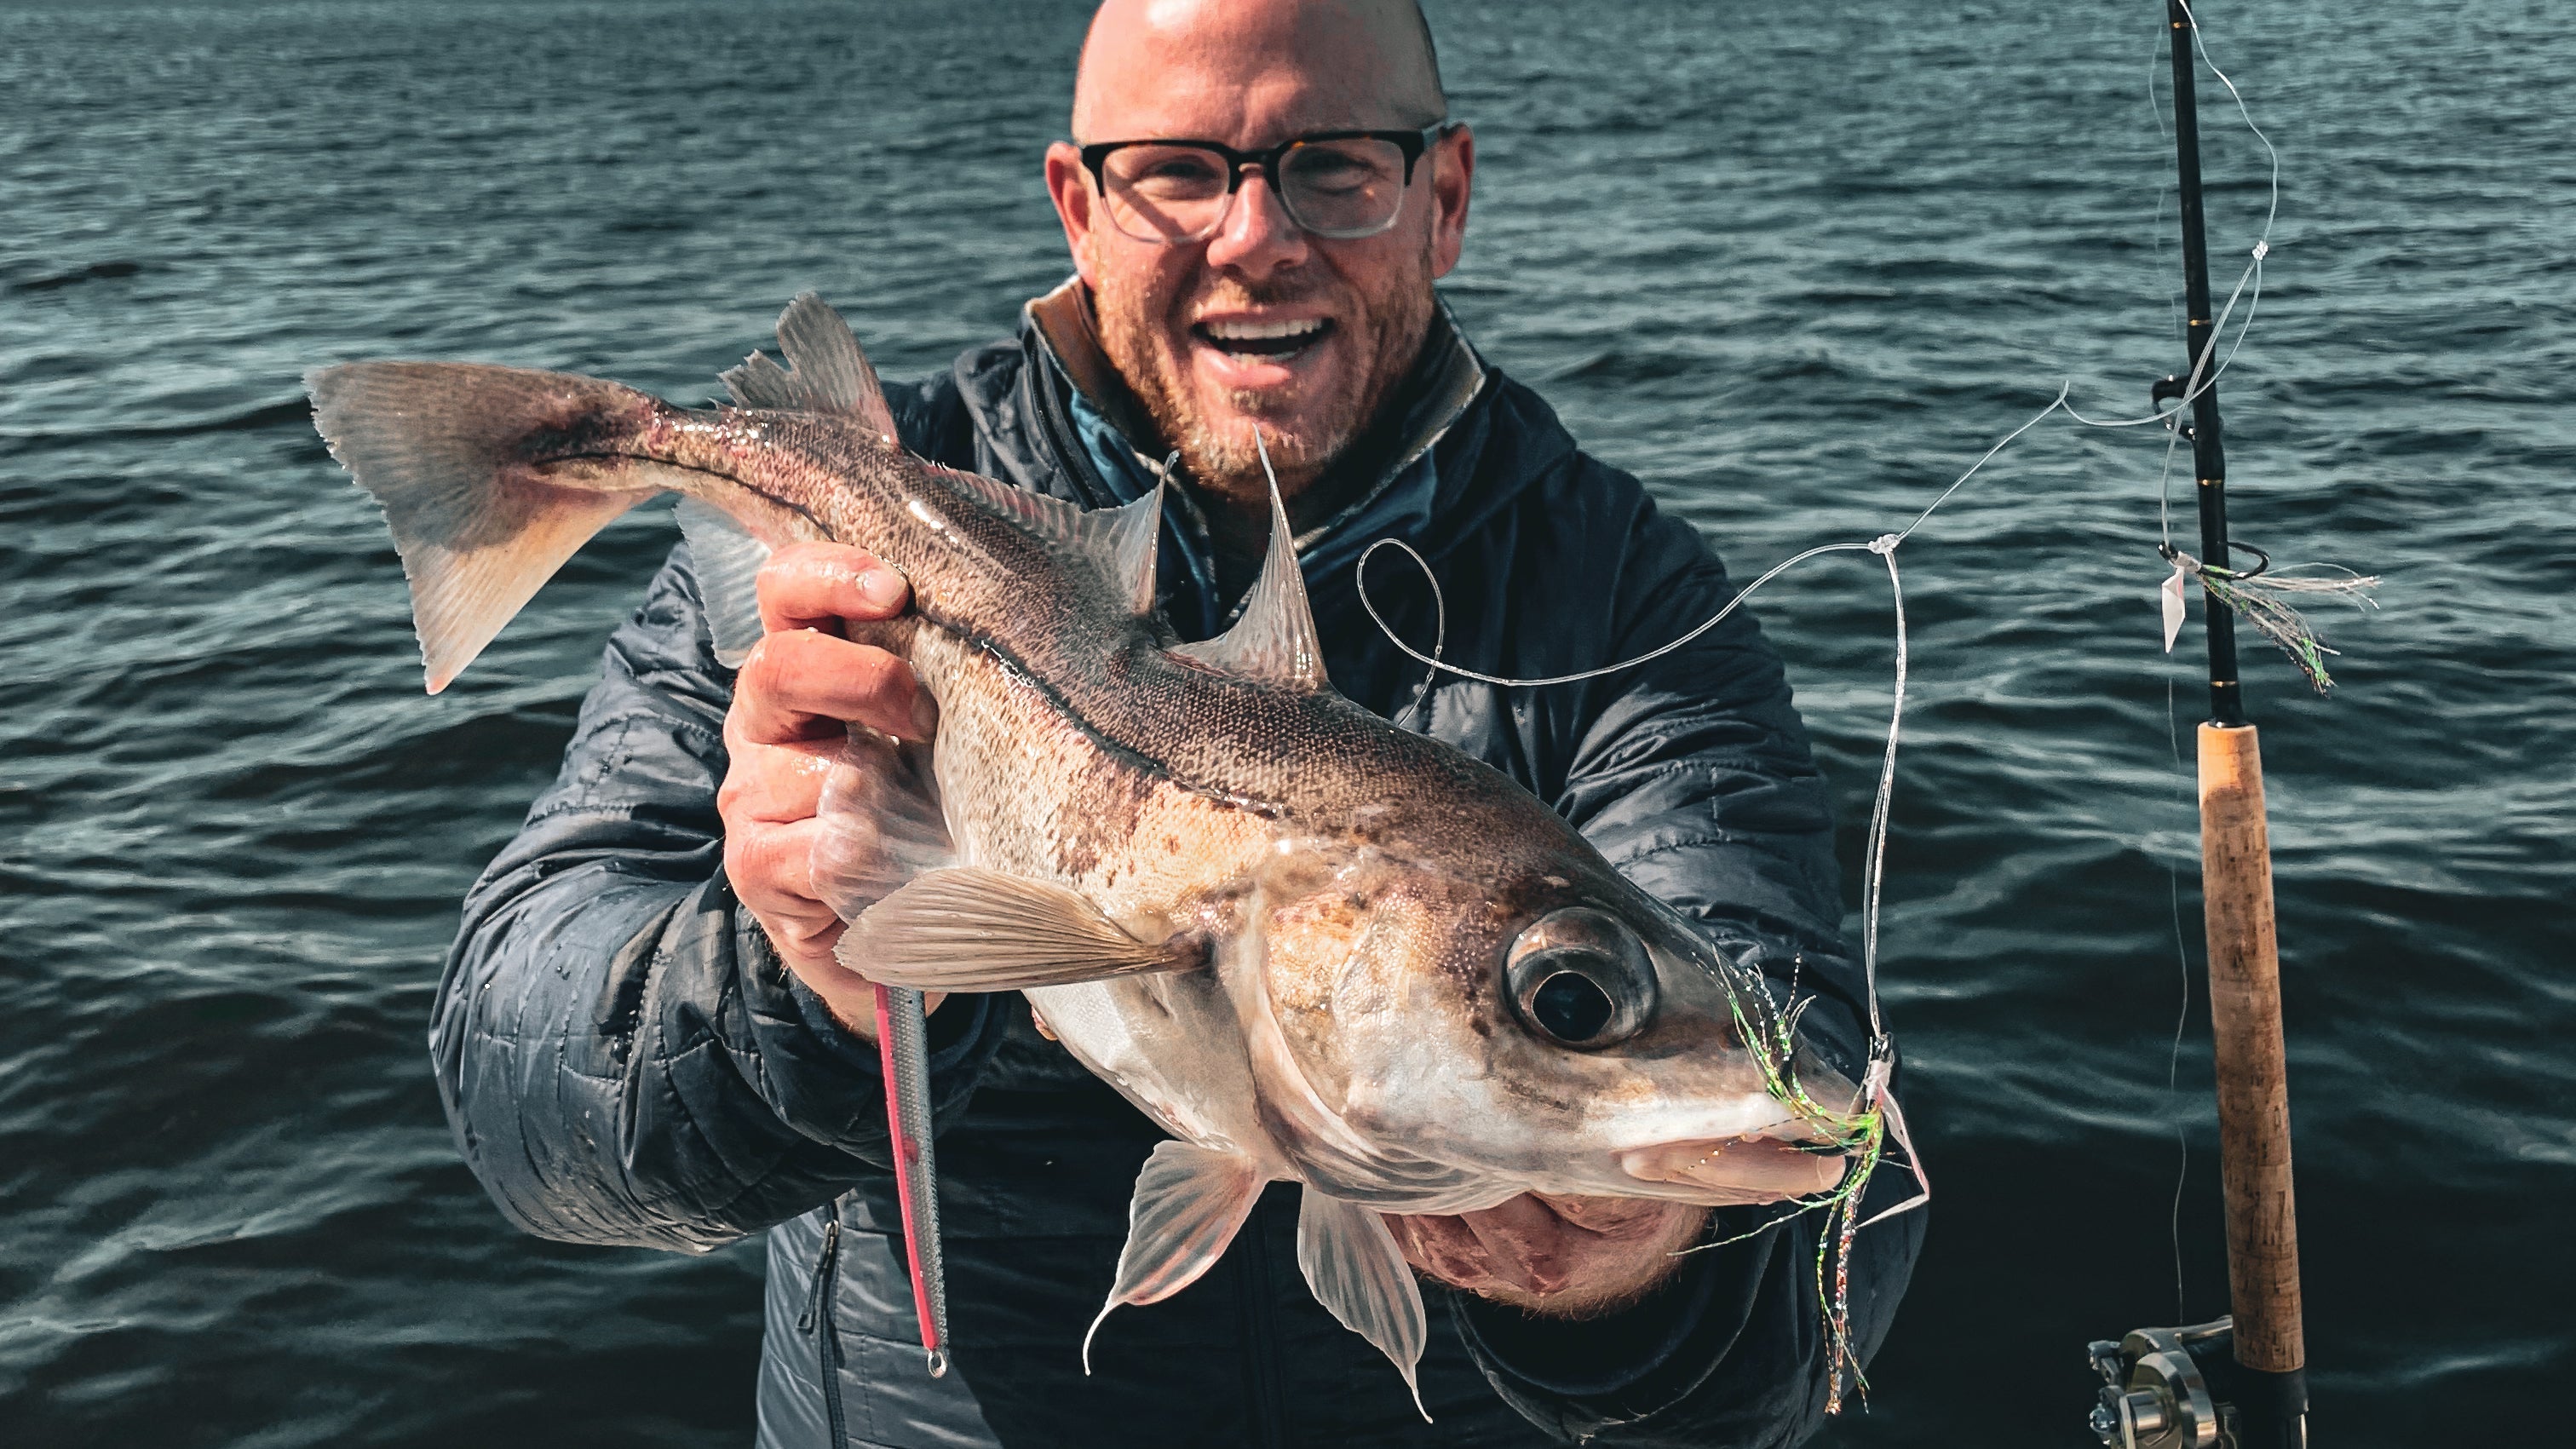
The structure here also holds cod. That's a useful backup if the tuna aren't cooperating, and knowing it exists takes pressure off the early decision-making. You're not locked into one outcome from the start.

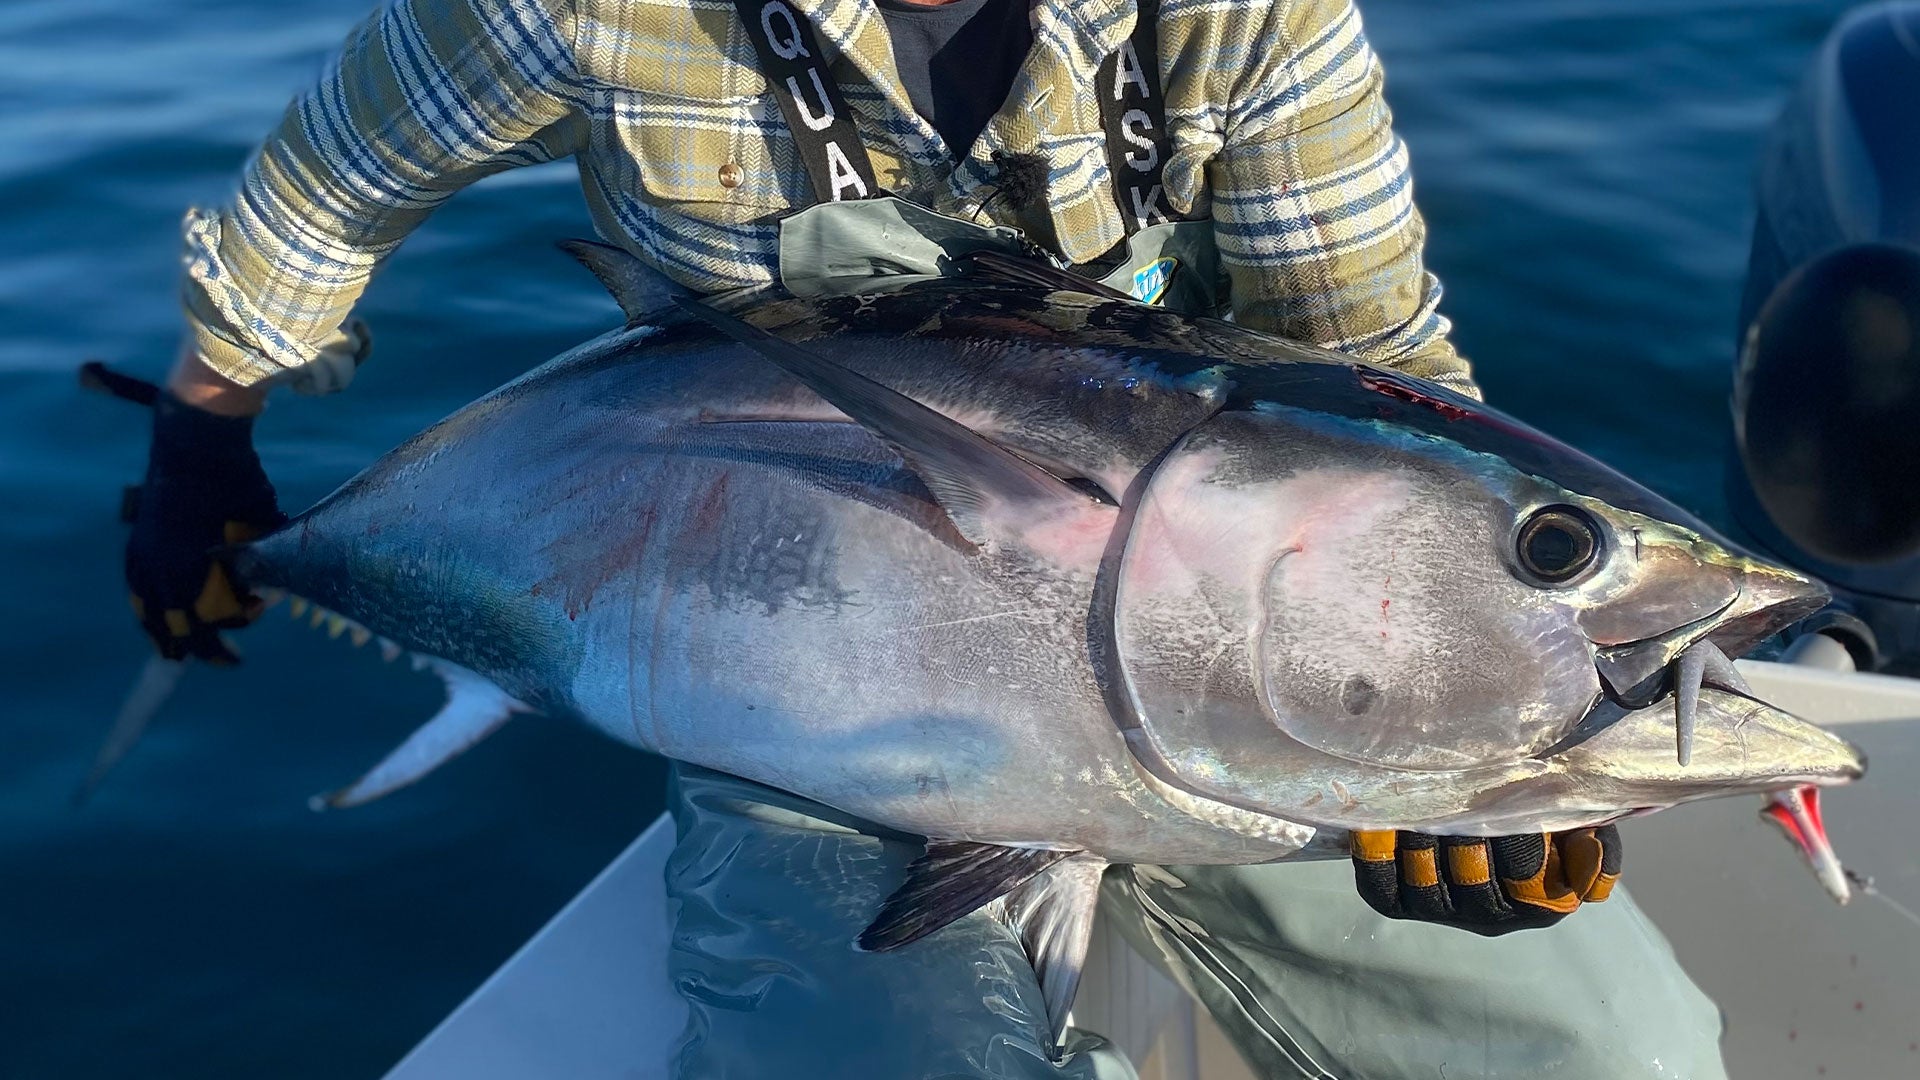
Coming into the trip: the area had been producing fish. Reports indicated larger individuals than earlier in the summer. That last piece of information — fish size — influenced the tackle decision before anything else happened on the water.

Local Knowledge — Regal Sword
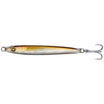
  • Known deep spot with moving water — area favors heavier jigs. Depth and drift conditions at the Sword push toward 8oz and up.
  • Known for a mix of small, medium, and giant tuna. Size reports coming in before the trip indicated larger fish than earlier in the summer.
  • Structure also holds cod — useful backup if tuna aren’t cooperating. Knowing the option exists takes pressure off early decisions.
Step 1 output
Pre-rig for mixed bait (sand eel / mackerel / herring profile). Size reports indicate conventional reels on deck alongside spinning. Known deep spot with moving water — focus on heavier jigs.
Step 2 Environmental Factors

What the conditions confirmed on arrival

Does the environment support what the historical read predicted?

Conditions on arrival were favorable across the board: manageable wind, good visibility, stable water. Nothing in the environmental picture was pushing toward or away from a particular technique. Wind, sea state, and tide were all workable for casting, jigging, or trolling.

Surface biology was active and organized. Humpback bubble-feeding confirmed bait concentration — this is a coordinated event indicating dense, stacked forage rather than scattered bait. Mixed bird species overhead supported the sand eel read from Step 1. The system was loaded.

Environmental conditions didn't narrow the technique decision on their own — they confirmed the biology and left the column-position question open for the observational read.

Step 2 output
Environment supports all methods. Bait concentration confirmed. Column position still open — determined by Step 3.
Step 3 Observational Factors — B.A.S.E.

What the on-water read told us

Four layers. Each one narrows the answer further.

The surface was loaded — birds vortexing, whales bubble-feeding, bait showing on the finder. Plenty of life, plenty of signal. The observational read works through that surface information layer by layer to determine where in the column the fish are actually positioned and how they’re feeding.

MH
The Unlock Key

The key that unlocked our program was big tuna marks almost flat on the bottom, sitting right on top of balls of sand eel marks.

Layer What We Saw What It Eliminated / Confirmed
B
Birds & Bait
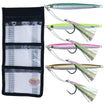
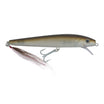
Gannets and terns vortexing, humpback bubble feed active. Sand eels primary forage confirmed by gannet presence — deep-diving species, not surface pickers.
Forage type confirmed: sand eel. Bait dense and organized. Lure profile decision: slim, realistic, sand eel size.
A
Activity
Occasional surface breaks but no committed blitz despite high bait volume overhead.
Eliminates surface presentation. Fish feeding deep. When forage is abundant and fish aren’t blitzing, they’re settled at a depth where effort-to-reward is favorable.
S
Structure Relation
Finder marks concentrated in the bottom third of the water column — 150–200 ft. Not suspending mid-column. Steady and repeatable throughout the session.
Fish in grubbing mode — working forage on or near the sea floor. Not positioned to intercept mid-column or surface presentations. Presentation depth: bottom third.
E
Echo / Sonar
Consistent arch marks near the bottom throughout the session. The reliable, repeatable signal — not the surface show, not the mid-column scatter.
Primary decision input confirmed. Sonar told us where the fish were — not the birds, not the surface show. Bottom third. That’s where the jig goes.
Step 3 output
Fish grubbing bottom in 150–200 ft. Sand eel forage. Slow presentation required. Surface and mid-column approaches eliminated.
Step 4 Structure & Approach

Getting the jig in front of the fish — before the first cast

Approach determines whether the technique has a chance to work.

Here’s something people underestimate about jigging: you can’t let the lure find the fish. With live mackerel, the bait does some of that work for you. A jig does none of it — it goes where you put it and stays in the zone for as long as you work it deliberately. That means approach discipline matters more than almost anything else.

Three factors shaped our decision tree on this drift:

1
Spacing of marks. As we drifted and idled, the tuna were focused on a specific area — likely sitting on a contour edge. They weren’t scattered.
2
Consistency of fish marks on the bottom. Same zone, same depth, every pass. That’s a committed school, not transient fish.
3
Drift speed. It was flat calm. Drifts were easily set and reset, which opened up full optionality on lure choice — including softer presentations that won’t track in heavy current.

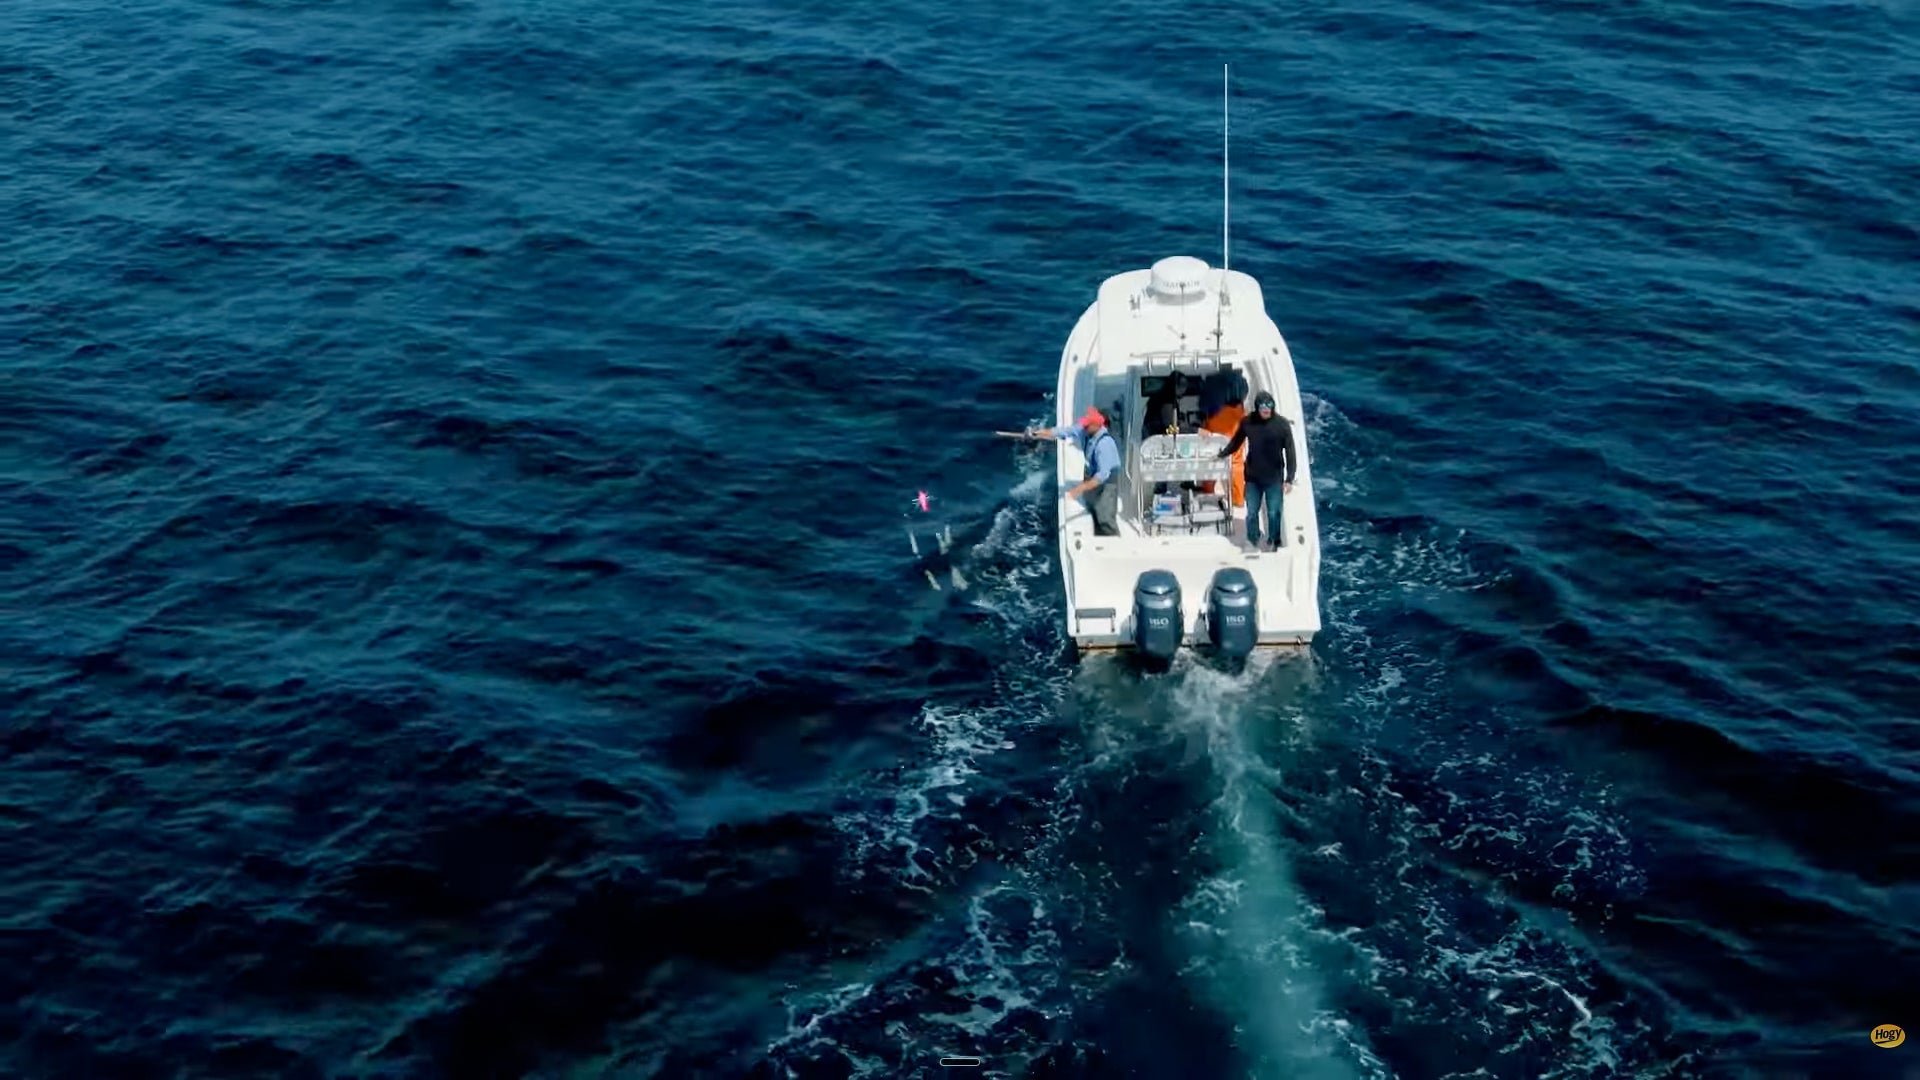
The approach: Tactical Drift (OA600) — sonar has confirmed fish location within the zone, and the goal is a drift line that repeatedly passes the jig through the bottom where they’re holding.

Approach — step by step

1
Mark the target on sonar. Note the depth band where fish are showing — today, tight to bottom in 150–200 ft. This is your presentation zone.
2
Position upwind and upcurrent of the mark so the natural drift carries you directly over it. Approaching from downwind means drifting past the zone before the jig reaches depth.
3
Drop to the confirmed depth. Bottom third of the column, or to the bottom itself if fish are grubbing. Don't stop short of the zone.
4
Work the zone for 5–8 minutes. If no contact, move to the next stop. Sitting idle over dead water costs the approach time better spent relocating.
5
Reset at minimum throttle. Bump in gear only when fully clear of the zone. Aggressive repositioning in proximity to bottom-hugging fish puts them down.
6
Log where on the drift track strikes occur. Adjust the next drift to maximize time in that section. The fish are telling you the exact position.
Tactical Drift OA600 — boat positioning, drift line, upcurrent setup, reset sequence

Tactical Drift OA600 — upwind/upcurrent setup, drift track over the bottom mark, quiet reset.

MH
Capt. Mike

Sonar is the last-mile locator — the birds, the whales, the life, that brings you into the fold. The surface show confirmed the system was loaded. The finder told us where to put the jig. Those are two different jobs and you need both.

Step 4 output
Tactical Drift OA600, upcurrent setup, presentation zone: bottom third in 150–200 ft. Reset discipline essential — fish are tight to bottom and position-sensitive.
Step 5 Gear, Lure & Technique

The answer the system produced

Steps 1–4 made most of these decisions. Step 5 executes them.

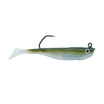
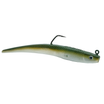
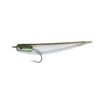
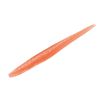
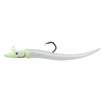
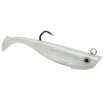
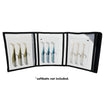
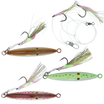
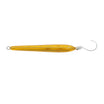
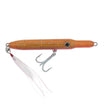
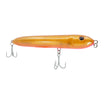
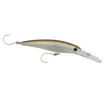
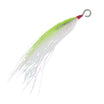
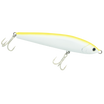
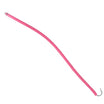
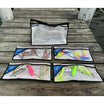
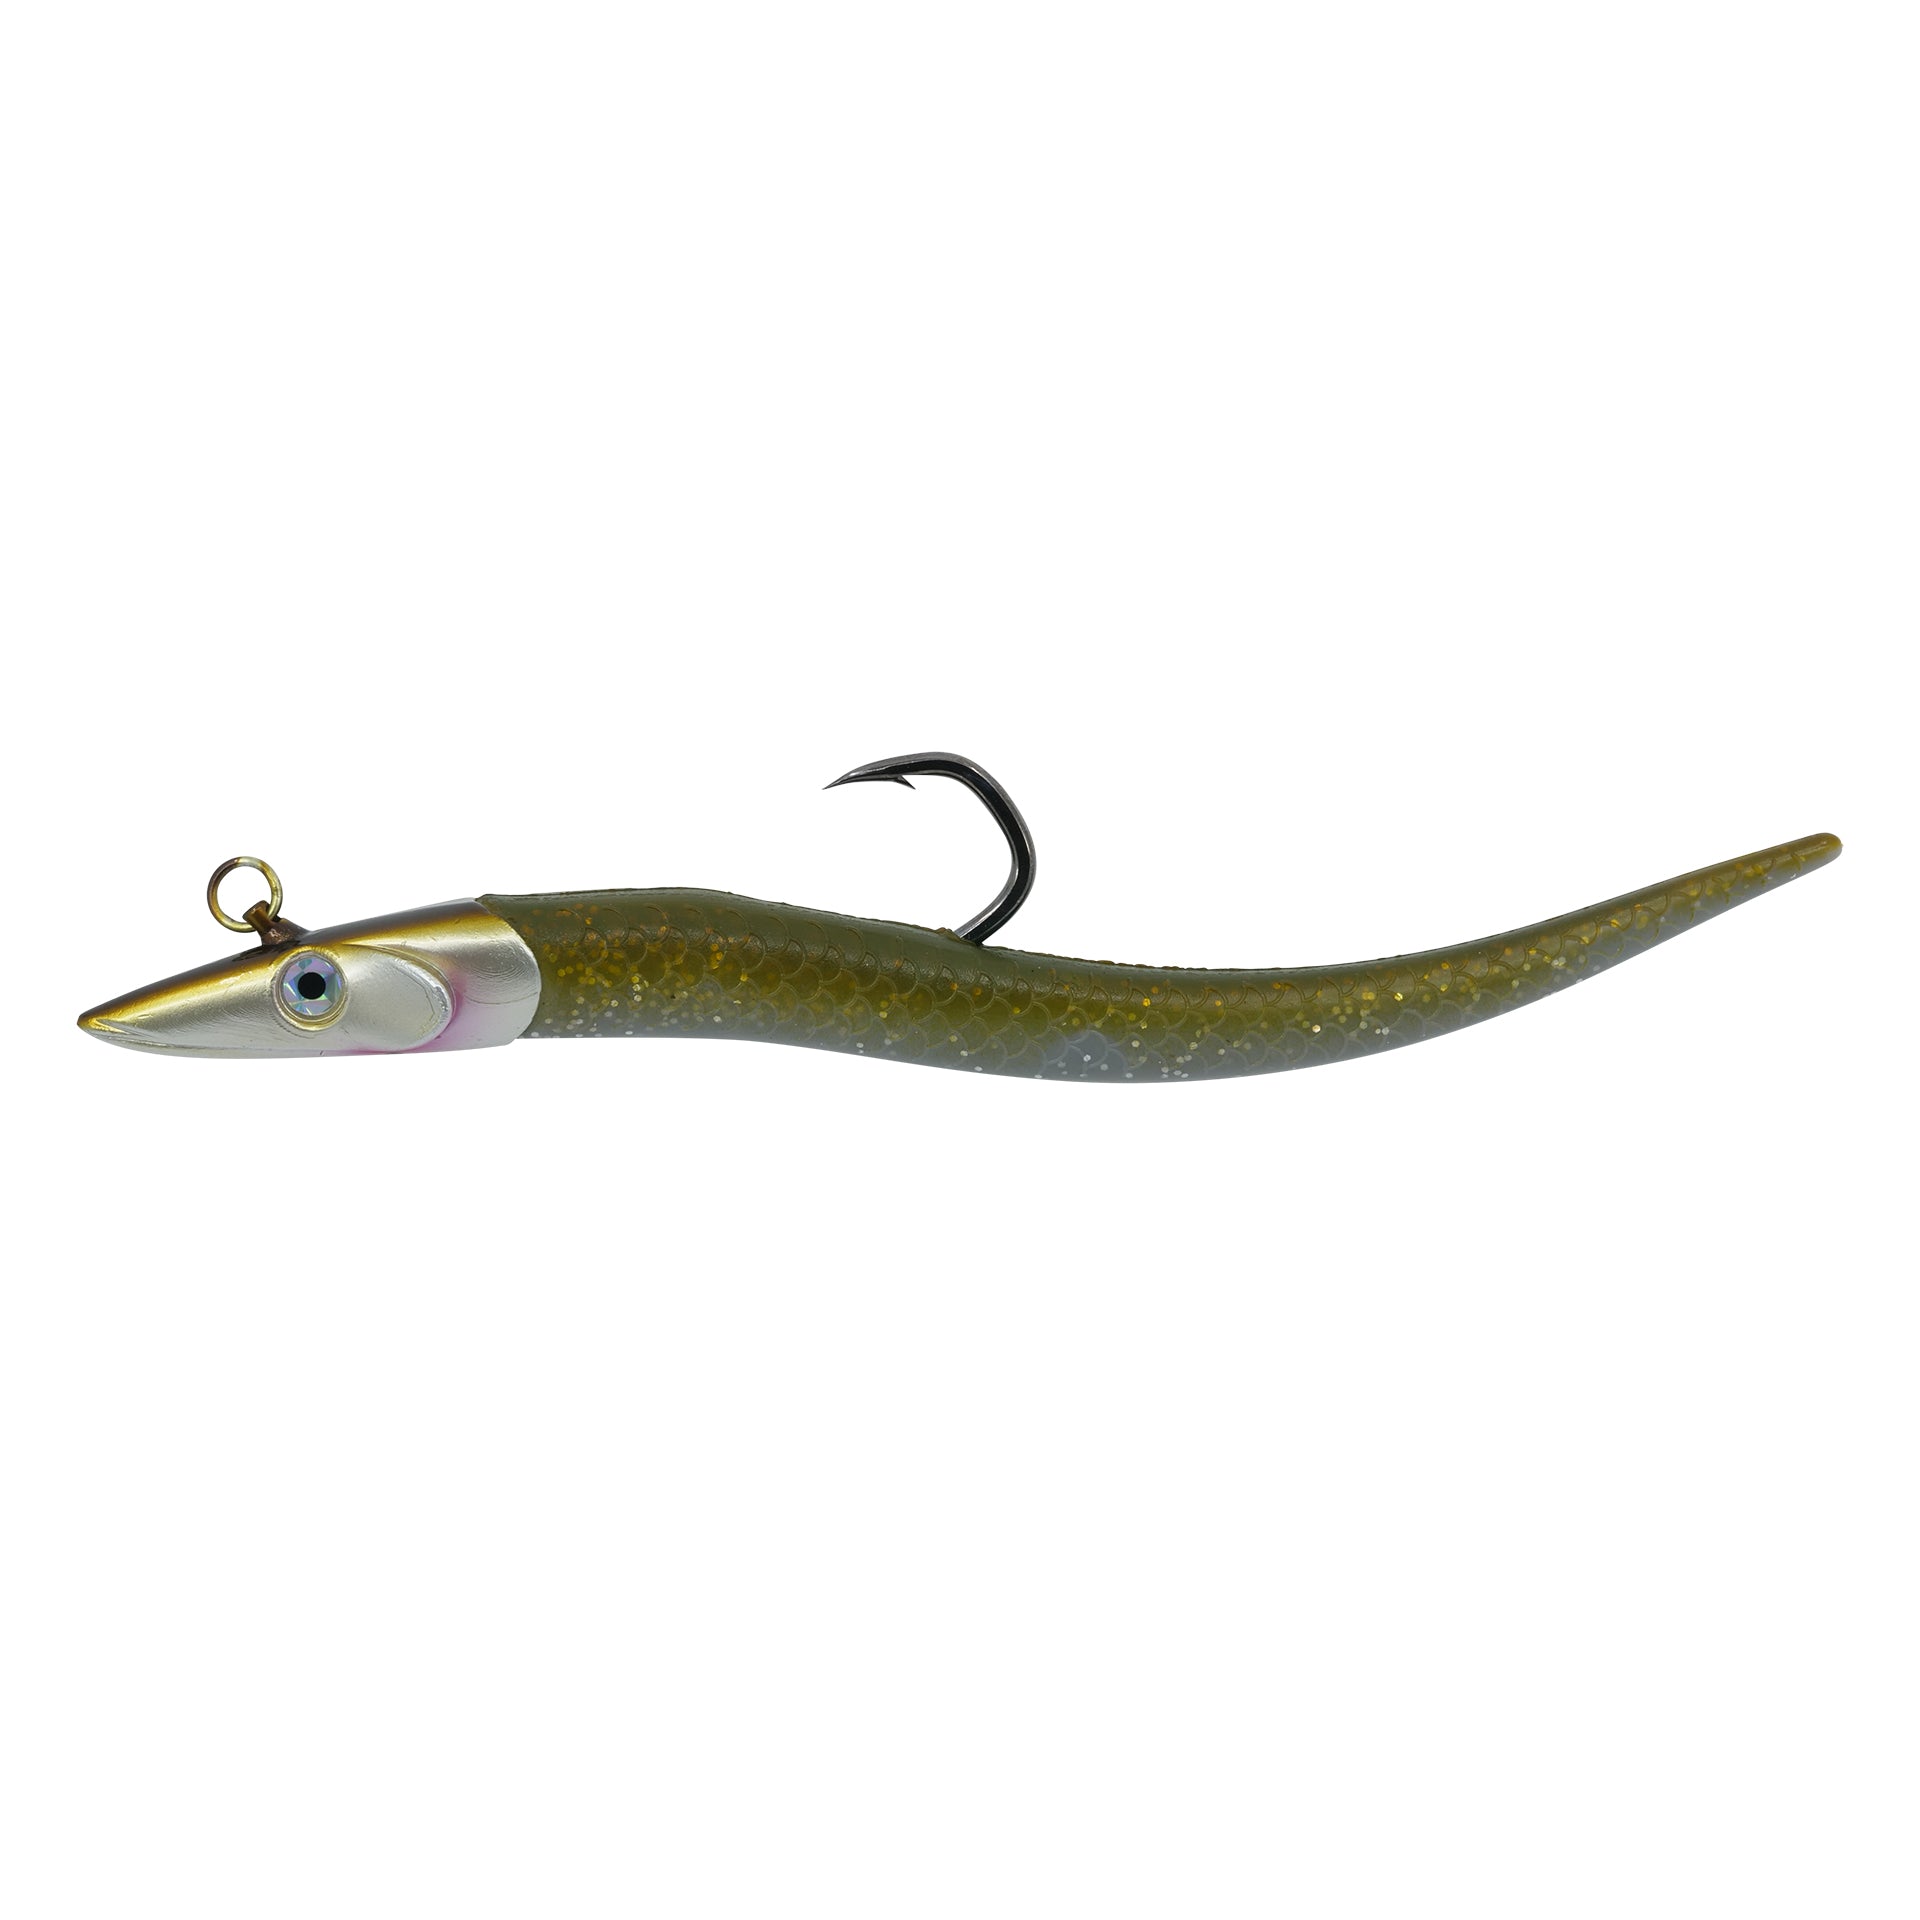
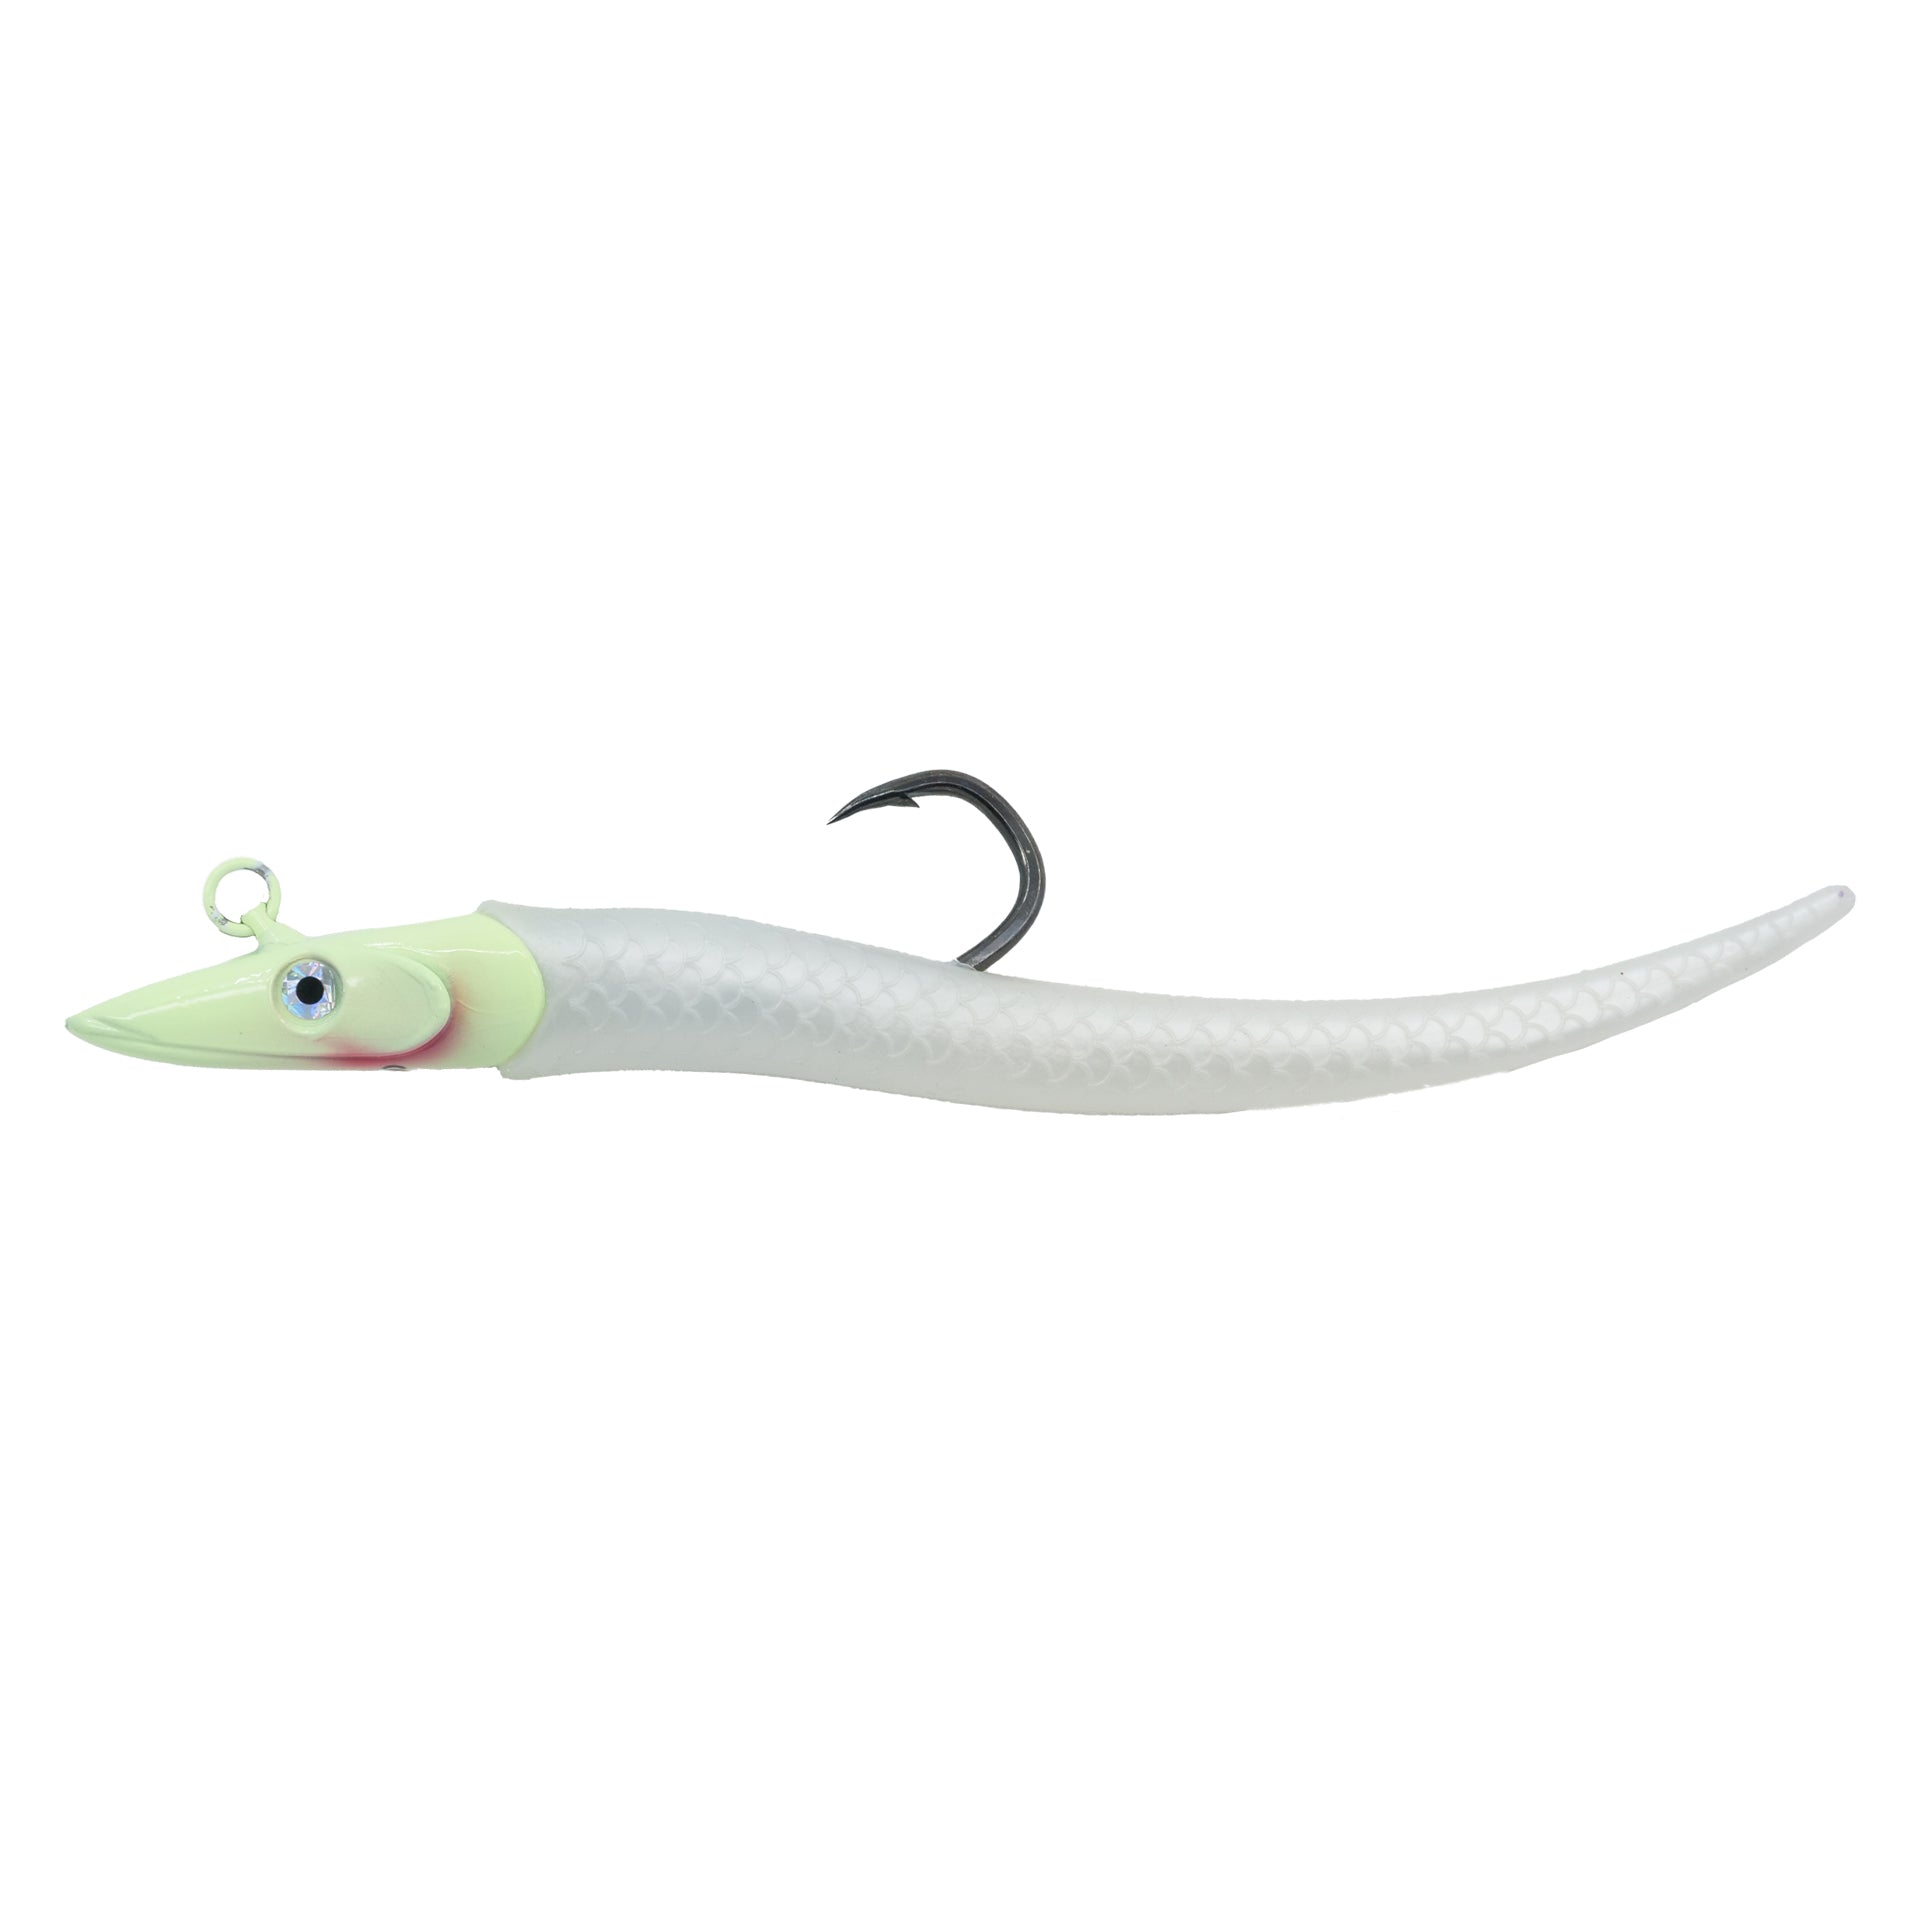
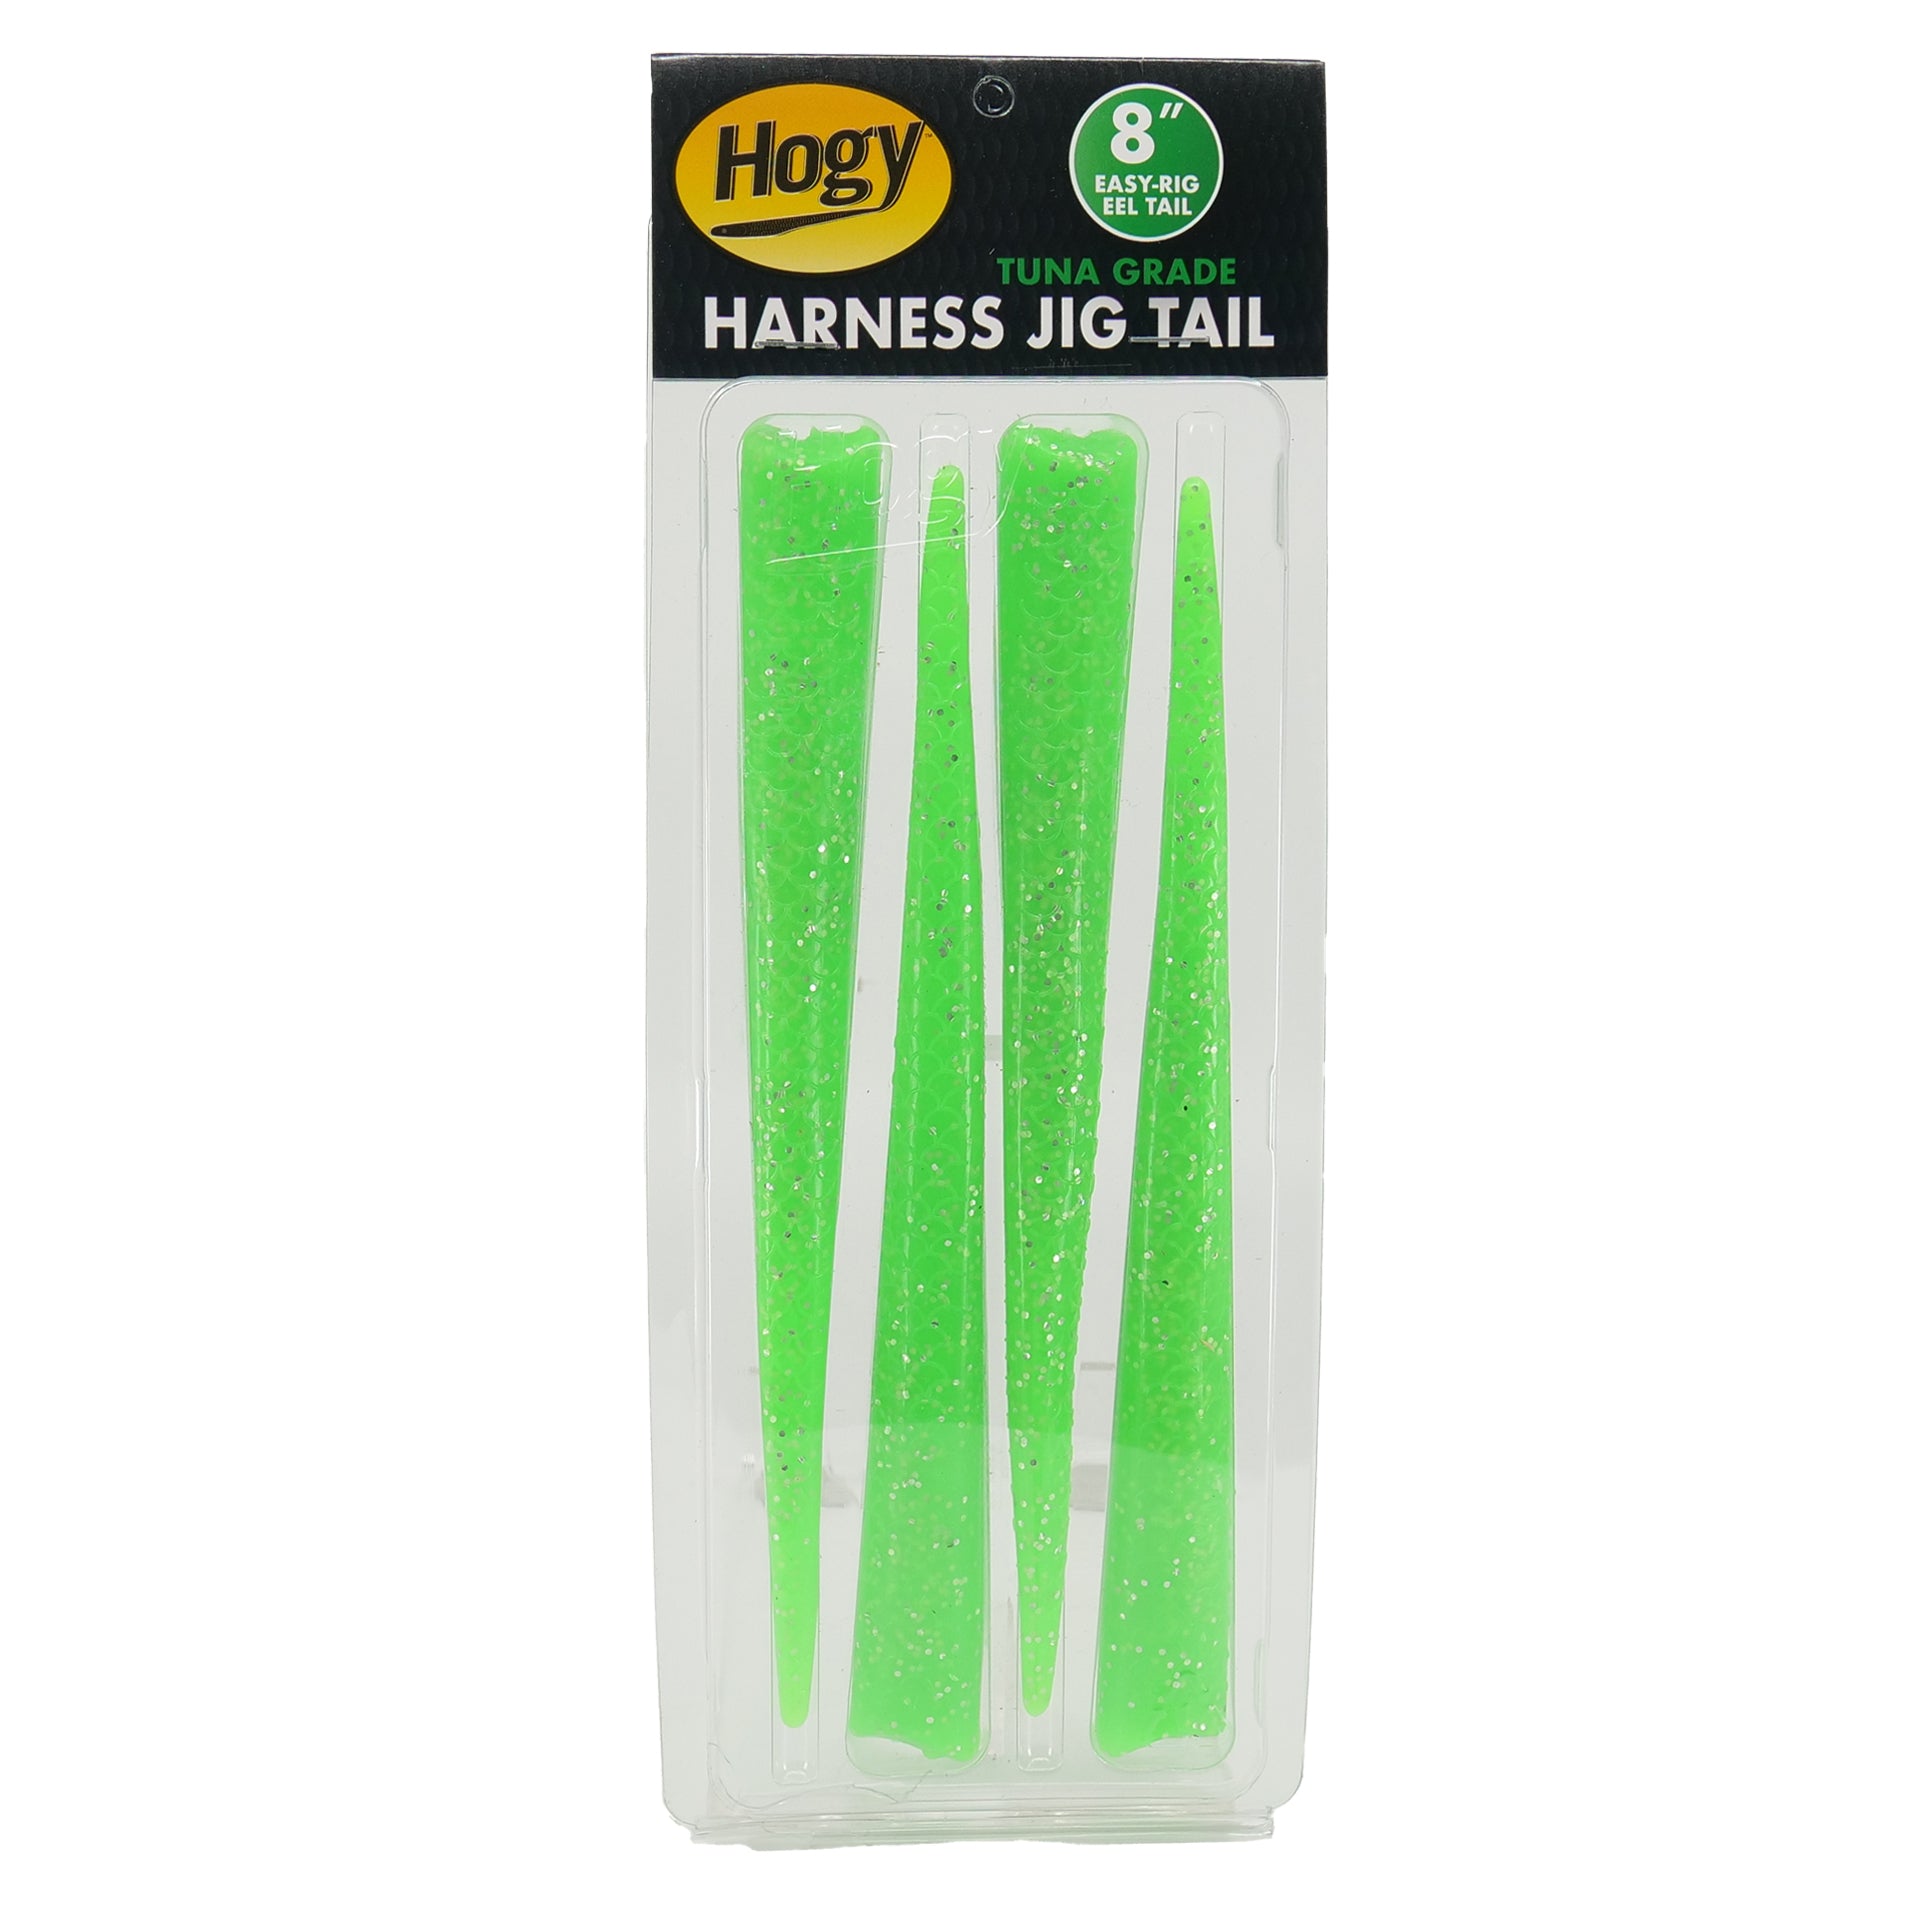
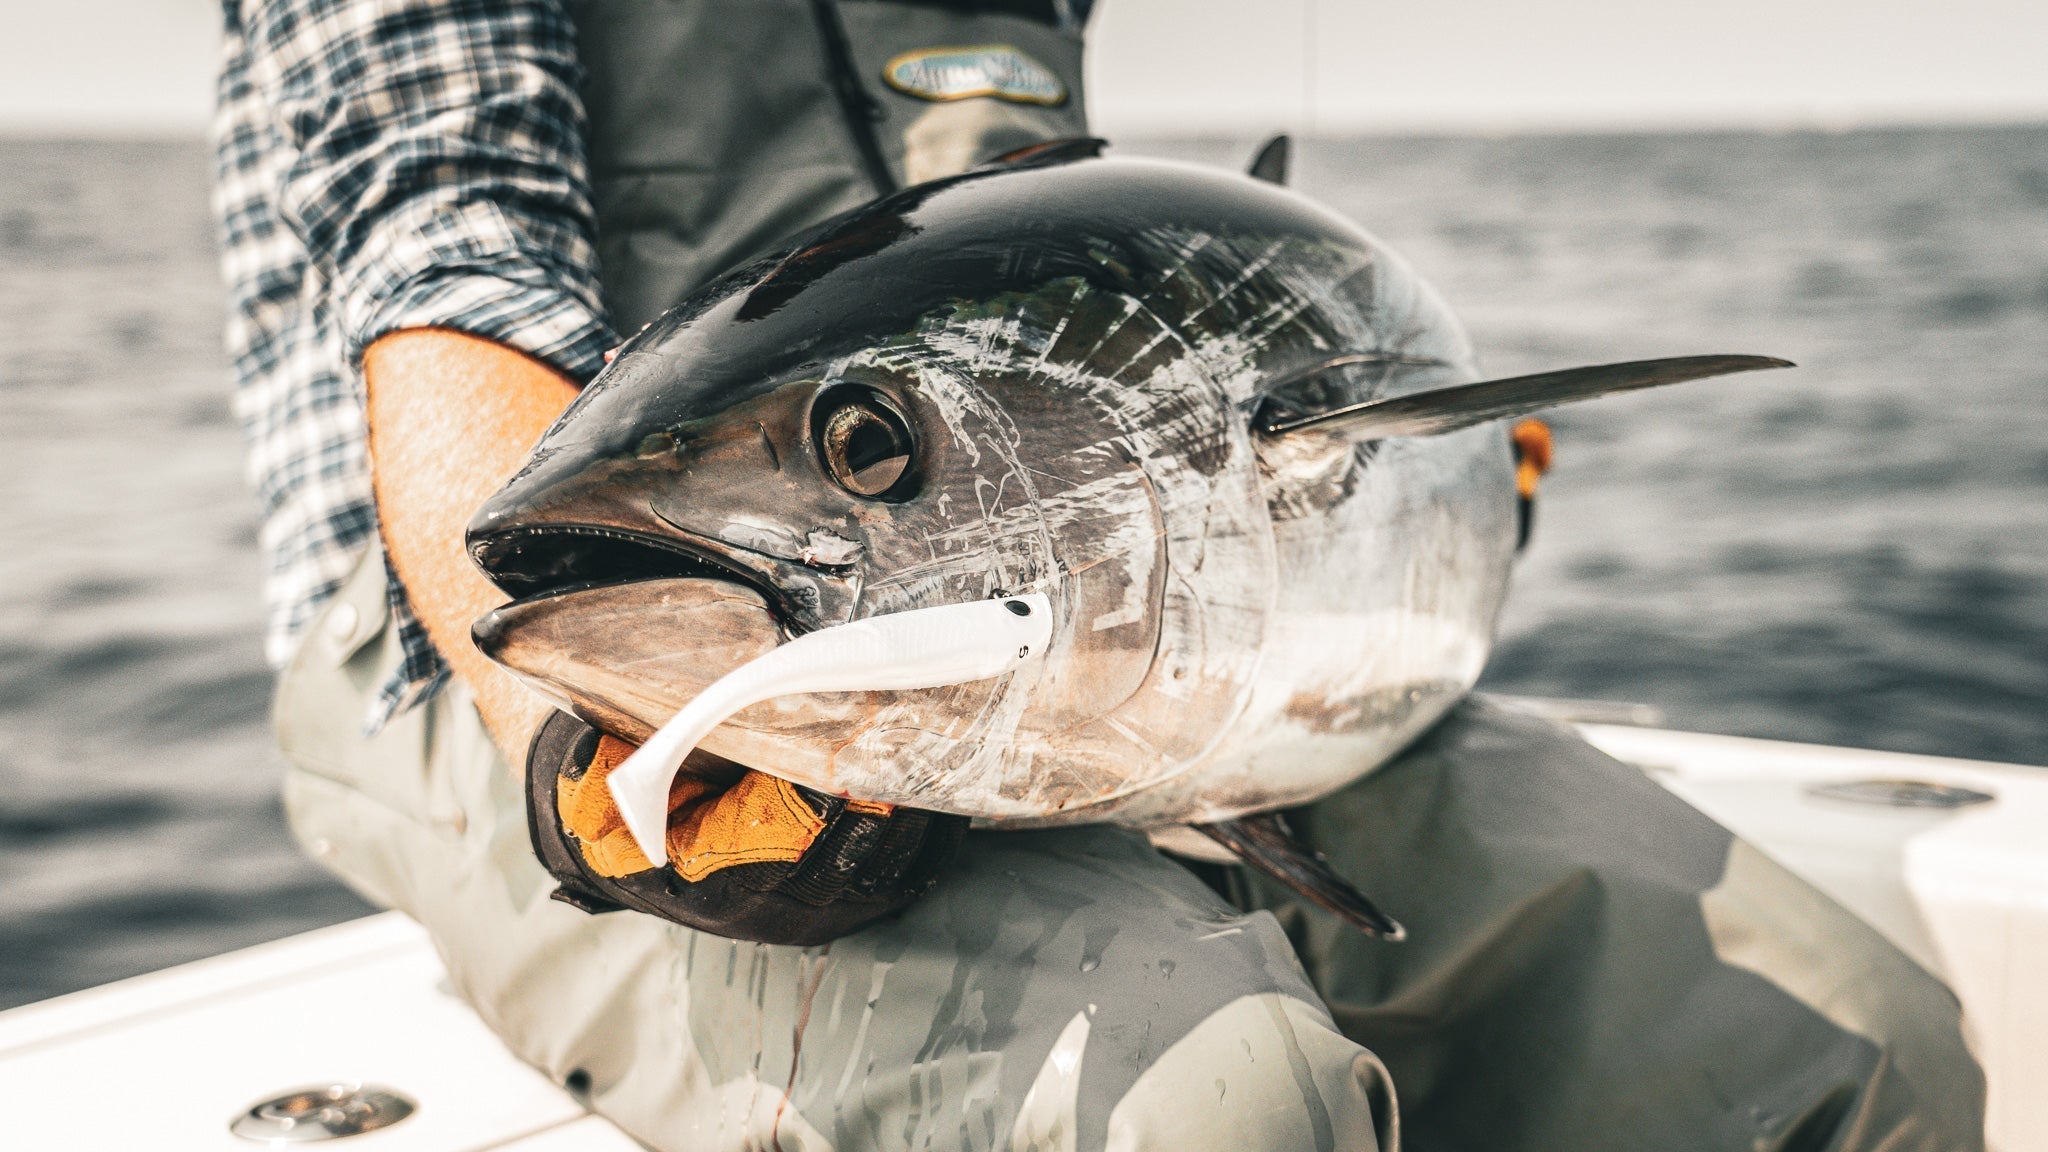
By the time we reach gear selection, the system has already determined: bottom of the column, sand eel forage, slow presentation required, fish that are going to get a long look at the lure before committing. That combination points clearly to one lure fished on a slow-pitch retrieve.

The Lure for the Job
Profile
The bait profile — sand eels, mackerel, sea herring all possible — called for a lure that could plausibly imitate any of the three without committing hard to one. The Harness Jig covers all three in size and profile. By the time we scoped the scene, tuna targeting sand eels on the bottom were the target. Hogy tuna softbaits are designed with sand eels front and center but imitate all similarly sized baits well. It’s a great hedge on top of the perfect weapon.
Action
Long sinuous tail comes alive at any speed. At slow presentation speeds a tuna will close on this bait and inspect it. The airbrushed head, oversized eyes, and tail color combination hold up under that scrutiny.
Speed
The key feature for tuna softbaits. These fish best at slow speeds — often grabbed on the drop, or dead-sticked. Slow jigging is the preferred method. The fish has time to look; the bait has to hold up under inspection.
Color
Olive. The Hogy Harness Jig is airbrushed by hand with large eyes to look like a sand eel. Key coloration and a slow-moving tail is a deadly combination.
Size
8oz for this trip, given the depth and the inclination to stay tight to the bottom. Many anglers use the 6oz with success. The 8oz is less common but a clear improvement at the Regal Sword.
Limitations
Calm day — none. But when the wind picks up and a fuller moon aligns wind and tide in the same direction, even the 8oz softbait becomes hard to control. Heavy drift days call for upsizing to 16oz Hogy Sand Eel Jigs.
Rigging
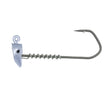
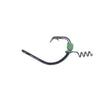
  • Ball bearing swivel molded inside the head. No external swivel and split ring. At slow speeds with a close-looking fish, extra hardware is a reason to refuse. Eliminate it.
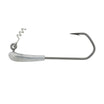
  • Smallest crimp and heat shrink you can get away with. On a slow jig the fish has time to inspect. Clean always beats heavy.
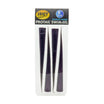
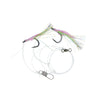
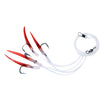
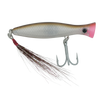
  • Heat shrink over the harness-to-hook connection creates a semi-rigid rig with enough flex that hook-up ratios stay high under full drag pressure.

Tackle selection — and why

Conservation note

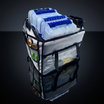
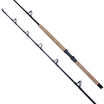
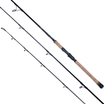
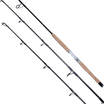
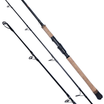
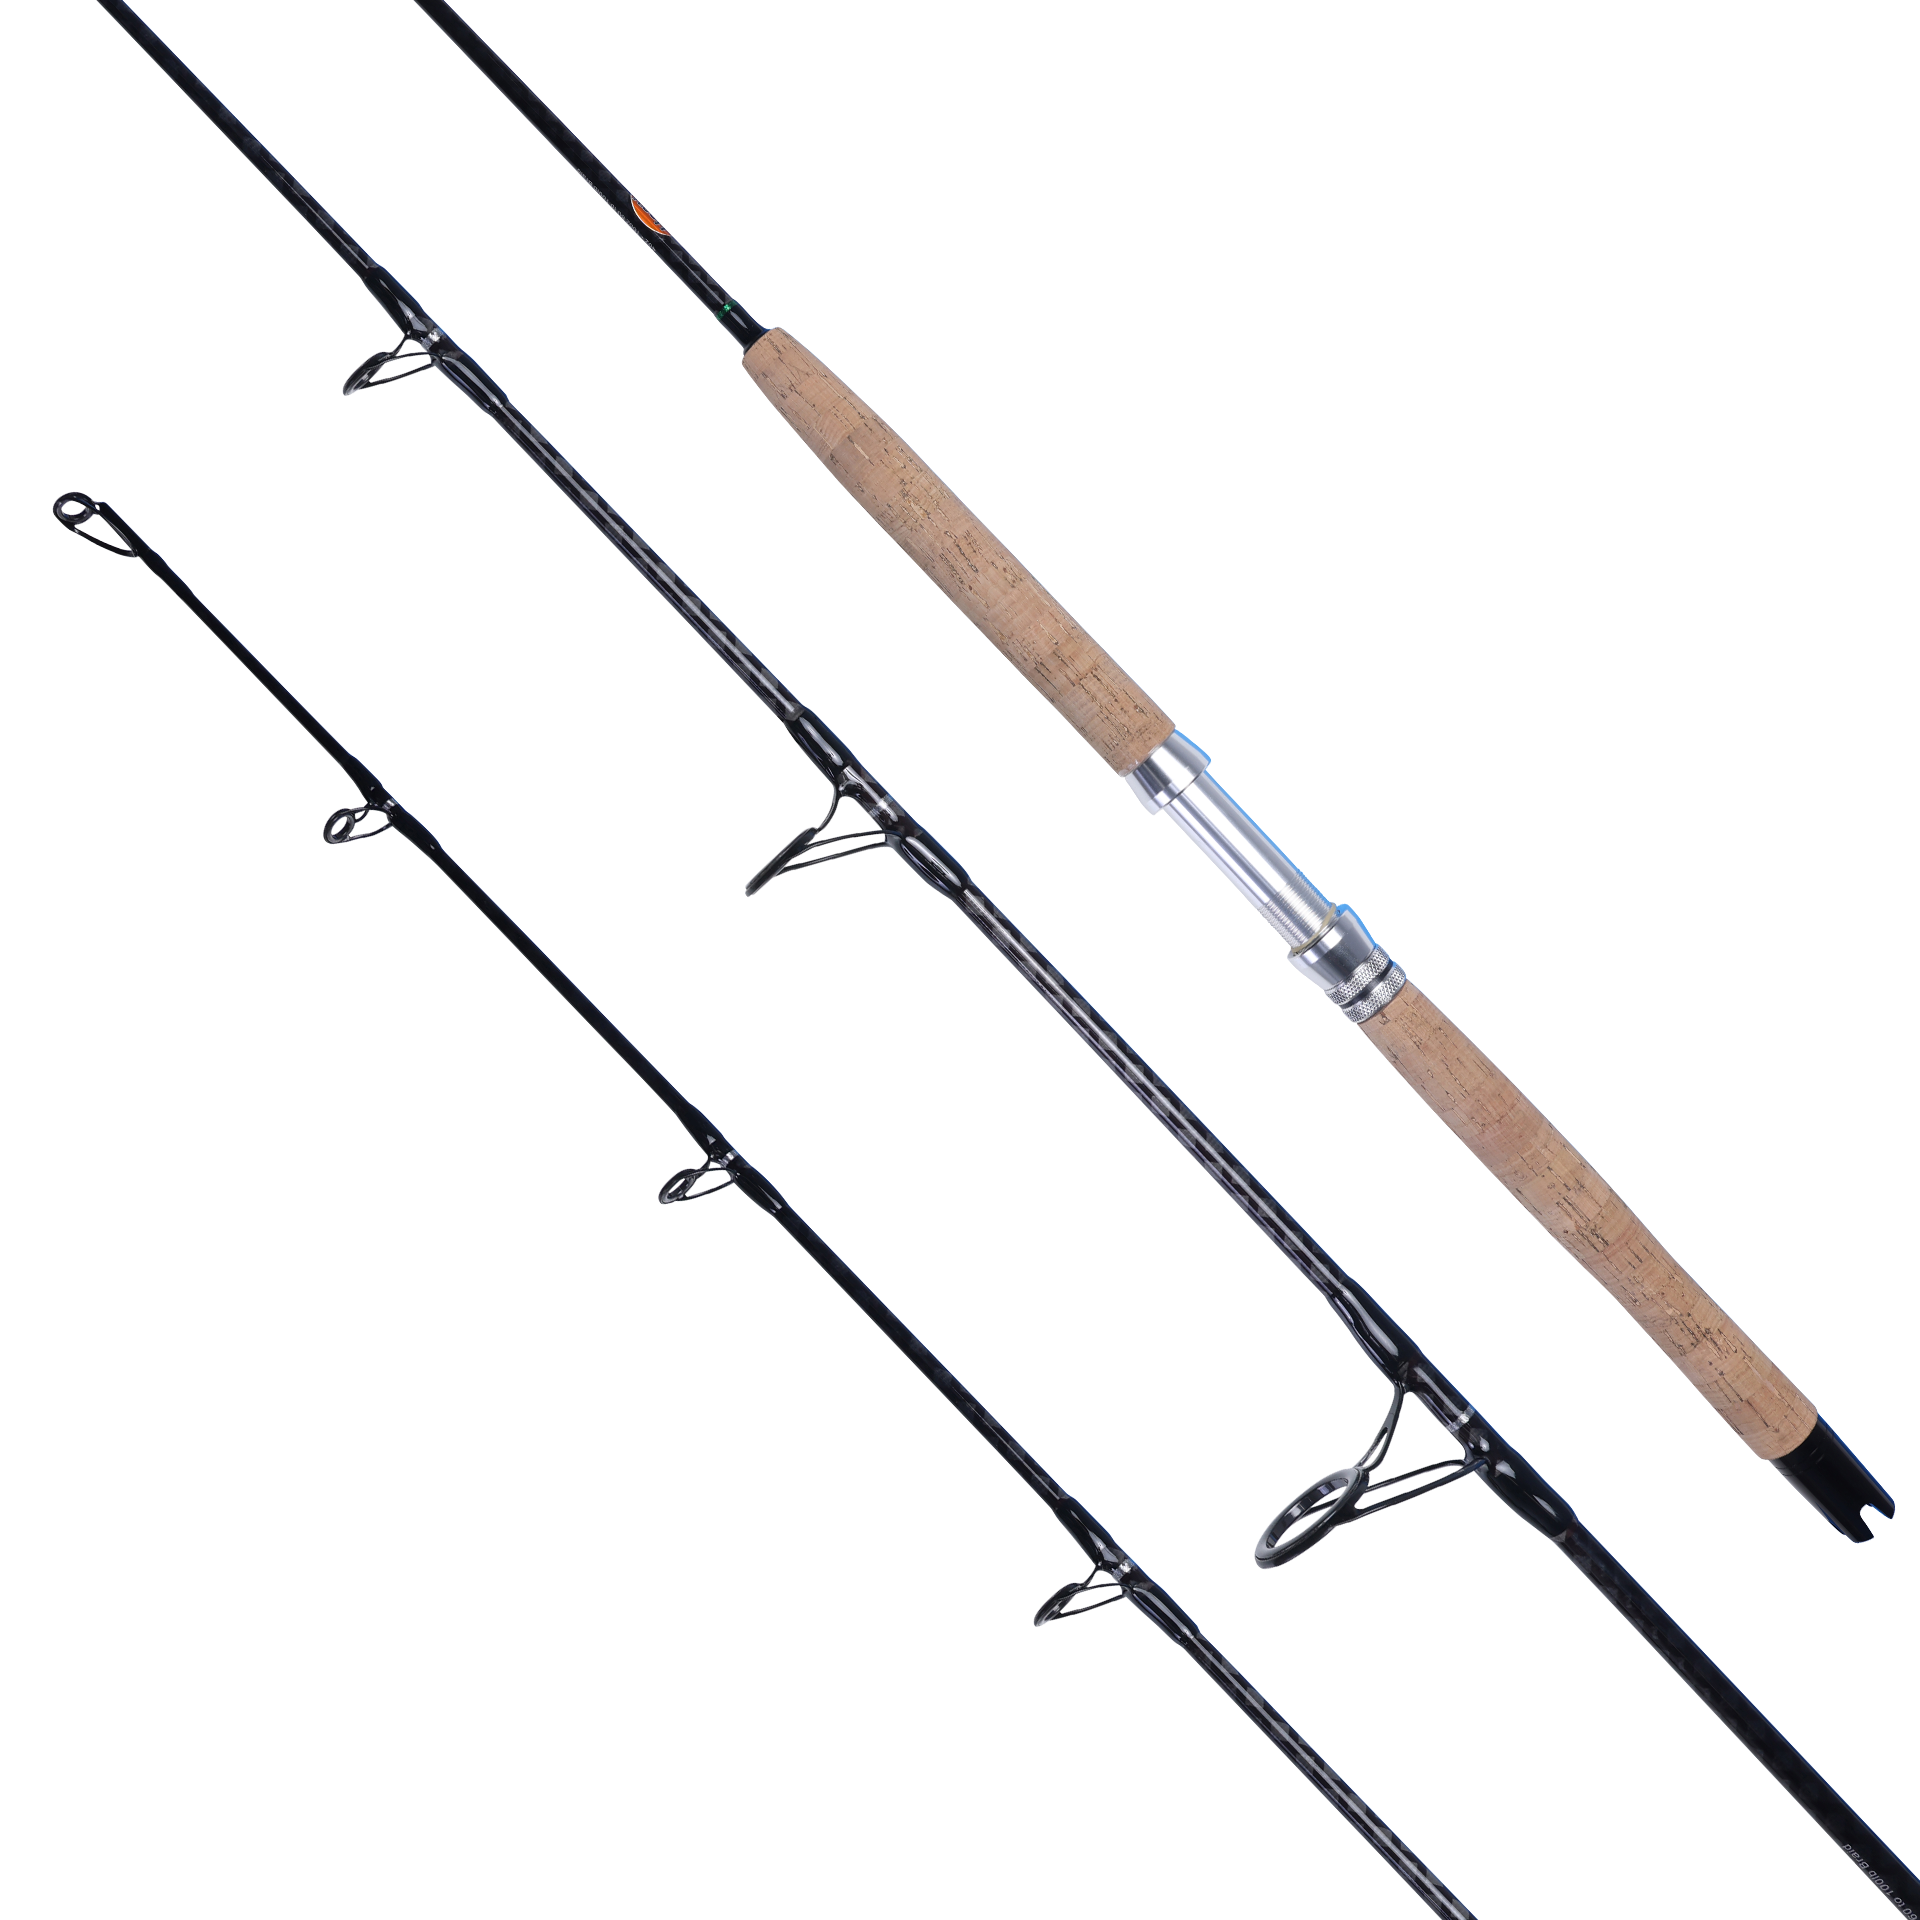
Reports indicated larger fish than earlier in the summer. That determined the reel choice before anything else. A fish fought beyond its metabolic capacity on undersized gear comes up spent in a way that's difficult to reverse at boatside. Conventional reels — Shimano Talica 20s and 25s — with 100lb hollow-core braid and 25 feet of 130lb fluorocarbon wind-on leader. The ability to apply sustained drag pressure and palm pressure shortens the fight. A shorter fight is a healthier release. My rule: reports of fish over 100 lbs, conventional goes on the deck alongside spinning.

Final Loadout
Lure
Hogy Harness Jig — sand eel / mackerel / herring profile, slim body, realistic tail
Outfit
Shimano Talica 20 and 25 (conventional) on a Talica 100lb class rod — large fish reported, conventional on deck
Main line
100lb hollow-core braid
Leader
25 ft of 130lb fluorocarbon wind-on
Hardware
Smallest crimp and heat shrink available. No external swivel — swivel is inside the jig head.
Technique
Slow-pitch jigging, hits on the drop. Dead-stick as secondary if fish pressured by fast presentations.

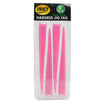
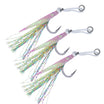
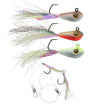
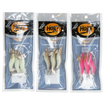
Rigging the soft tail — step by step

1
Thread the rigging needle into the front channel of the tail.
2
Feel for the solid midpoint of the bait. Push through with finger pressure — most people stop here too early.
3
Exit through the back hole and slide the tail up and over the knuckle of the jig hook.
4
Pull the tail back slightly. Apply a small drop of super glue inside the front of the head, and a small amount down the exit channel. Pinch lightly and hold.
5
This step is optional but significantly extends tail life. Friction from a fish's jaws is what wears the bait out — not the hookup. Expect half a dozen fish on the same tail with the glue step.

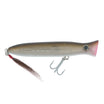
Slow-pitch jigging — step by step

This is my favorite technique for soft baits and the most underused. Fish it like you really don’t care about fishing. If you think you’re going slow enough — slow down more.

1
Drop to the confirmed mark depth, or to the bottom if fish are grubbing. Don't stop short of the zone.
2
Lift slowly and smoothly. No snap, no jerk. A gentle raise — the lure barely moves off the bottom on the lift.
3
Let the jig fall on semi-slack line. Do not reel tight on the fall. The spiral action on the descent is the strike trigger — not the lift.
4
Watch the line on every descent. Most hits come on the drop. Line twitch, sudden slack, or stopping before expected depth — set the hook immediately.
5
Every few lifts, move depth by 10 feet with slow cranks and repeat. Probe the zone around the mark rather than locking to one depth.
6
Hit bottom before you expect to — crank down immediately. That resistance is a fish.
Dead-stick variation: rod in the holder, zero retrieve, boat drift moves the jig. When fish have been pressured by faster presentations from other boats and stopped reacting to action, a completely passive fall is often the call. The soft tail pulses naturally with no rod input. The strike comes on the drift.

The decision at a glance

Signal from the System Decision
Reports of large fish in the area Go conventional — shorter fight, better recovery for the fish
Gannet + tern mix over bubble feed Sand eels confirmed primary forage — slim profile, match the size
Surface breaks present but no blitz Fish feeding deep — surface presentation eliminated
Finder marks steady near bottom Grubbing posture — presentation zone is bottom third
Slow jig vs. live bait You locate the fish — they don’t come to you
Slow presentation = high fish visibility Minimize hardware — clean rig always beats heavy rig
Fish not reacting to fast presentations Dead-stick — passive fall is the trigger, not the lift

The fight and the release

The fight is part of the conservation decision — not separate from it.

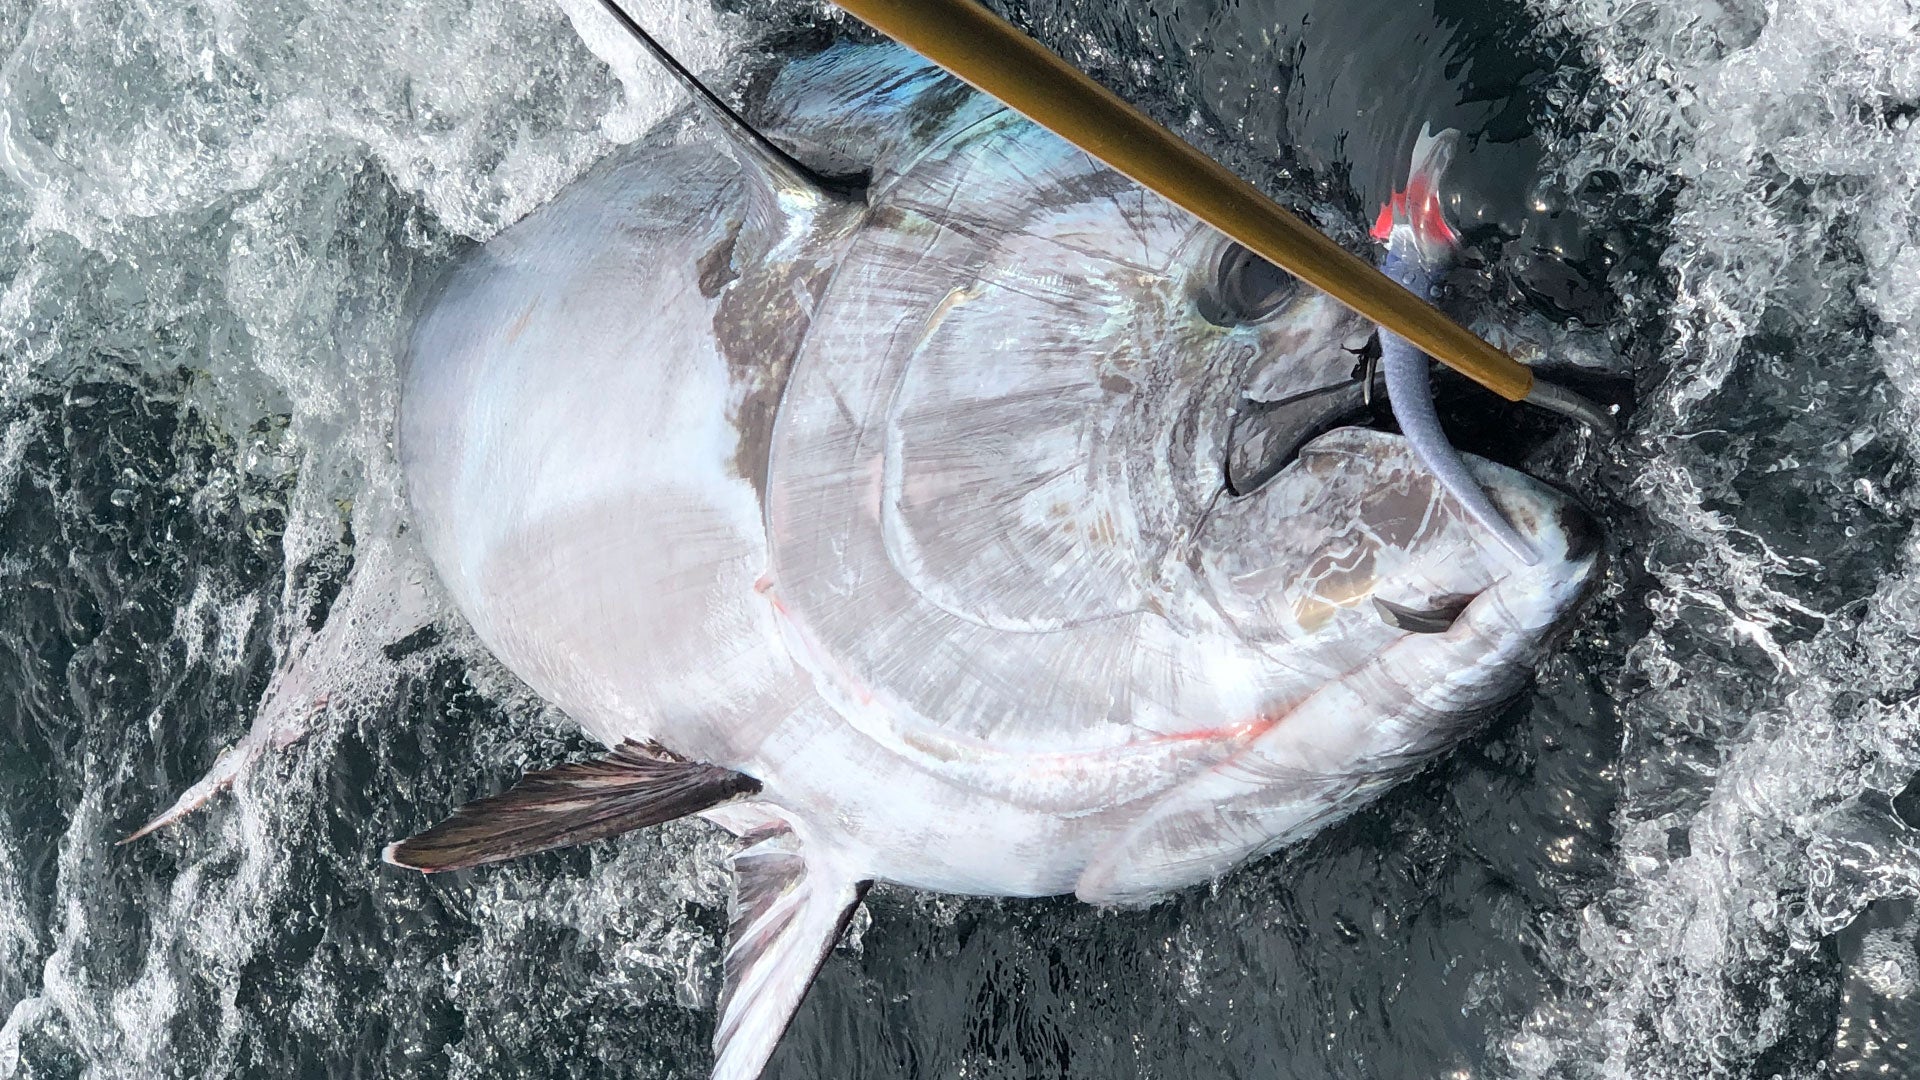
We hooked up the way the technique is supposed to produce — lure near the bottom, hit on the drop, handle cranked fast. What followed was a long fight, and I want to talk about it honestly.

When you’re targeting large bluefin with the intention to release, every extra minute that fish spends on the line is a minute it’s burning reserves it needs to survive. This is exactly why gear choice before you leave the dock matters.

  • Switch out before you’re tired, not after. Fresh anglers put maximum pressure on the fish. Tired anglers ease off without realizing it — that’s how fights go 45 minutes longer than they need to.
  • Let the fish run on the big bursts. Your reel has 45 inches of line per crank. Fighting the run accomplishes nothing except exhausting the angler.
  • Palm pressure is a tool, not a constant. Apply it when the fish swims away from the boat; ease off when it’s coming toward you.
  • The last 20 feet is where most fights go wrong. Keep the fish on the aft quarter, communicate with your captain, and be ready for that final burst.

This fish measured approximately 85 inches — well above the current 72-inch recreational slot — and we released it. The revival took nearly 45 minutes alongside the boat. Don’t rush it. The fish came back healthy. That’s what matters.

Regulations

Bluefin tuna are federally regulated. Slot limits, retention rules, and reporting requirements change. Check current NOAA regulations before each offshore trip — not just at the start of the season.

Putting it together
How the system produced the answer

Step 1 established the forage range and flagged fish size. Step 2 confirmed the biology and left column position open. Step 3 eliminated surface and mid-column presentations through the BASE read — gannet presence confirmed forage depth, inconsistent surface activity pointed deeper, and the sonar marks near the bottom made the final call. Step 4 set up the drift to put the jig in that zone repeatedly. Step 5 executed what the previous four steps had already determined: Harness Jig, bottom third, slow-pitch, hits on the drop.

Next in the series
Cracking the Code: Finicky Albies
When they're showing on top, refusing everything, and how to change the equation.
Bluefin Tuna Slow Jigging Harness Jig East of Chatham Regal Sword Offshore Cracking the Code Capt. Mike Hogan

Reading next

Cracking The Code: Stripers on the Drop - Vineyard Sound
Cracking The Code: Spring Haddock & Cod Stellwagen Bank

Leave a comment

All comments are moderated before being published.

This site is protected by hCaptcha and the hCaptcha Privacy Policy and Terms of Service apply.

Related Videos

How To: Slow Jigging the Hogy Harness Jig for Giant Bluefin Tuna East of Chatham

Capt. Mike Hogan and the Hogy Crew head out to Regal Sword, a well-known fishing spot East of Chatham, to target giant Bluefin Tuna on the Hogy Harness Jig lures. There are two main methods when searching for tuna offshore; staying with life (whales bubble feeding, top water tuna, bait on the surface, bird activity) and the search and drop technique, which involves doing a search pattern with your fish finder looking for targets.

Bluefin Tuna Fishing | Jig & Pop | Hogy Harness Jigs & Sliders

Capt. Mike shows us two techniques for targeting bluefin tuna off of Cape Cod on spinning gear. The Hogy Harness Jigs are carefully balanced to ensure a natural presentation whether they are straight retrieved or fished with a cast and drop retrieve. The Hogy Sliders are perfect to cast on heavy spinning setups and come tuna rigged right out of the package.

Related Blogs

CastingCrack The Code: Micro Squid Rips Finicky Stripers

Crack The Code: Micro Squid Rips Finicky Stripers

Cracking the Code: Four Retrieves on One Cast — Surface Eraser vs. Finicky Monomoy Stripers Striped Bass  ·  Monomoy Rips  ·  Mid-June Cracking the Code Capt. Mike Hogan &...

InshoreCrack The Code: Monomoy Rips Topwater Striper

Crack The Code: Monomoy Rips Topwater Striper

Cracking the Code: Poppers on a Squid Bite at Monomoy Striped Bass  ·  Monomoy Rips  ·  S2022 E6 Cracking the Code Capt. Mike Hogan  ·  Salty Cape TV powered by Hogy ...

InshoreCracking The Code: Monomoy Rips Striped Bass

Cracking The Code: Monomoy Rips Striped Bass

Cracking the Code: Surface Eraser on the Monomoy Squid Rips Striped Bass  ·  Monomoy Rips  ·  S2024 Cracking the Code Capt. Mike Hogan  ·  Salty Cape TV powered by Hogy ...

Bluefin TunaCracking The Code: Light Tackle Bluefin - The Gully

Cracking The Code: Light Tackle Bluefin - The Gully

Light-Tackle Bluefin  ·  The Gully  ·  S2025 E6 Cracking the Code Capt. Mike Hogan  ·  Salty Cape TV powered by Hogy Location The Gully — S. of Block Island Season Midsummer Species Bl...

Black SeabassCracking The Code: Deep Summer Seabass

Cracking The Code: Deep Summer Seabass

Cracking the Code: Deep Summer Sea Bass — Long Drifts, No Bait, 95 Feet Deep Summer Sea Bass  ·  Vineyard Sound Cracking the Code Capt. Mike Hogan  ·  Salty Cape TV powered b...

Black SeabassCracking The Code: Seabass Three Ways

Cracking The Code: Seabass Three Ways

Sea Bass Three Ways  ·  Eldridge Shoal  ·  S2025 E3 Cracking the Code Capt. Mike Hogan  ·  Salty Cape TV powered by Hogy Location Eldridge Shoal Season Early Summer Species Black Sea B...