









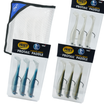
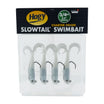
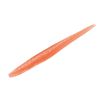

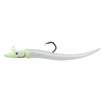
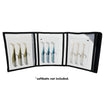


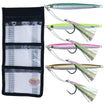
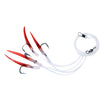
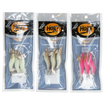
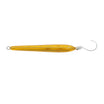
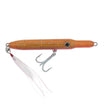

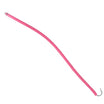
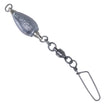
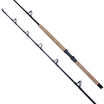
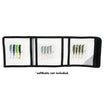
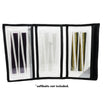
What I love most about day dropping for swords is how simple the basic program can be. I want one dedicated outfit, one fully rigged soft-plastic eel, the right lead for the water, a couple of lights, and a small pile of terminal gear. No bait cooler. No thawing. No sewing. The eel can stay rigged until the weather, current, and opportunity line up.
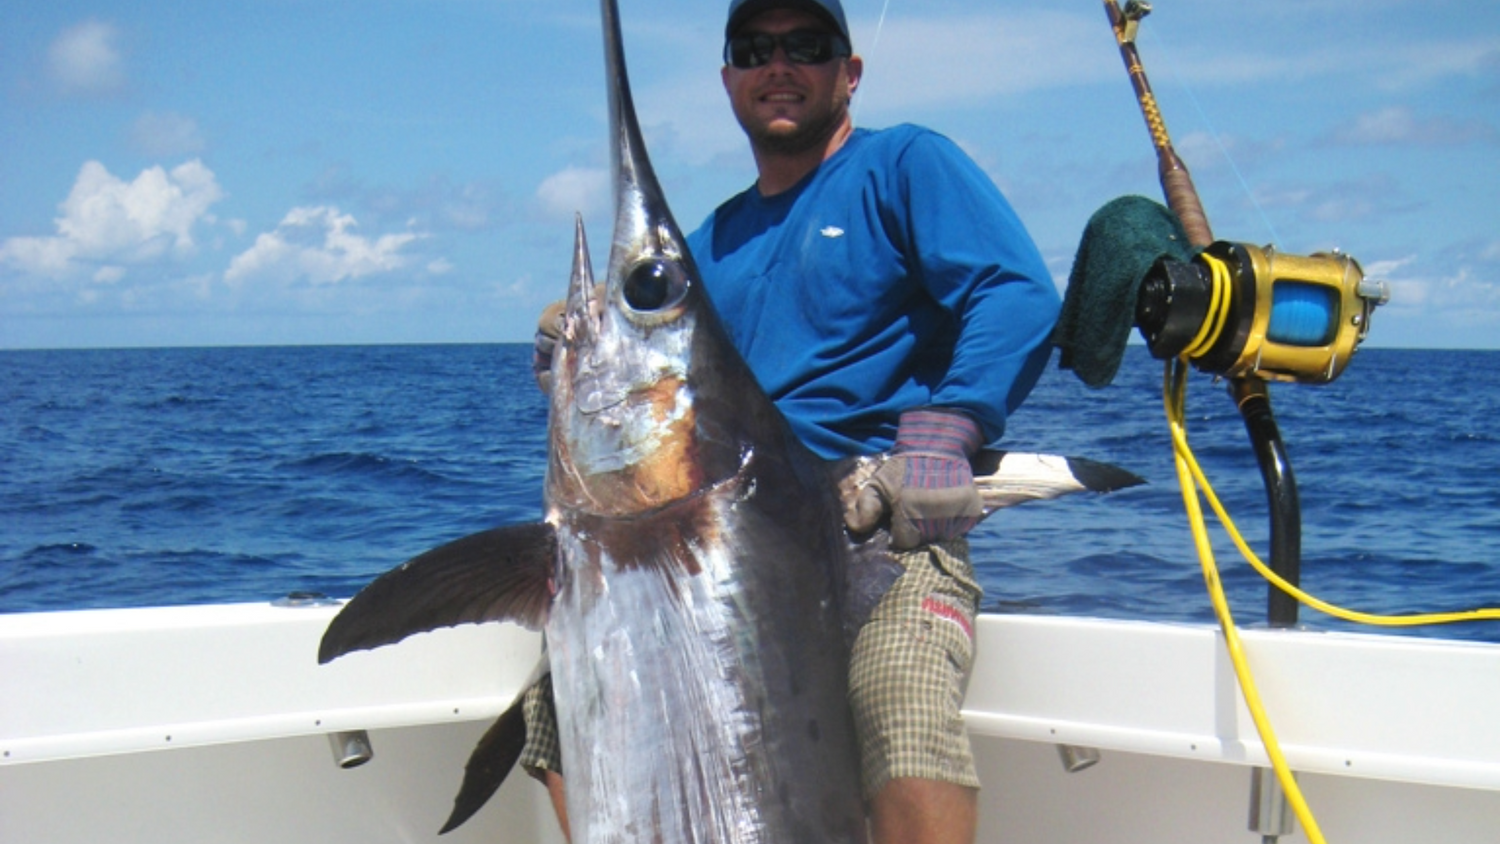
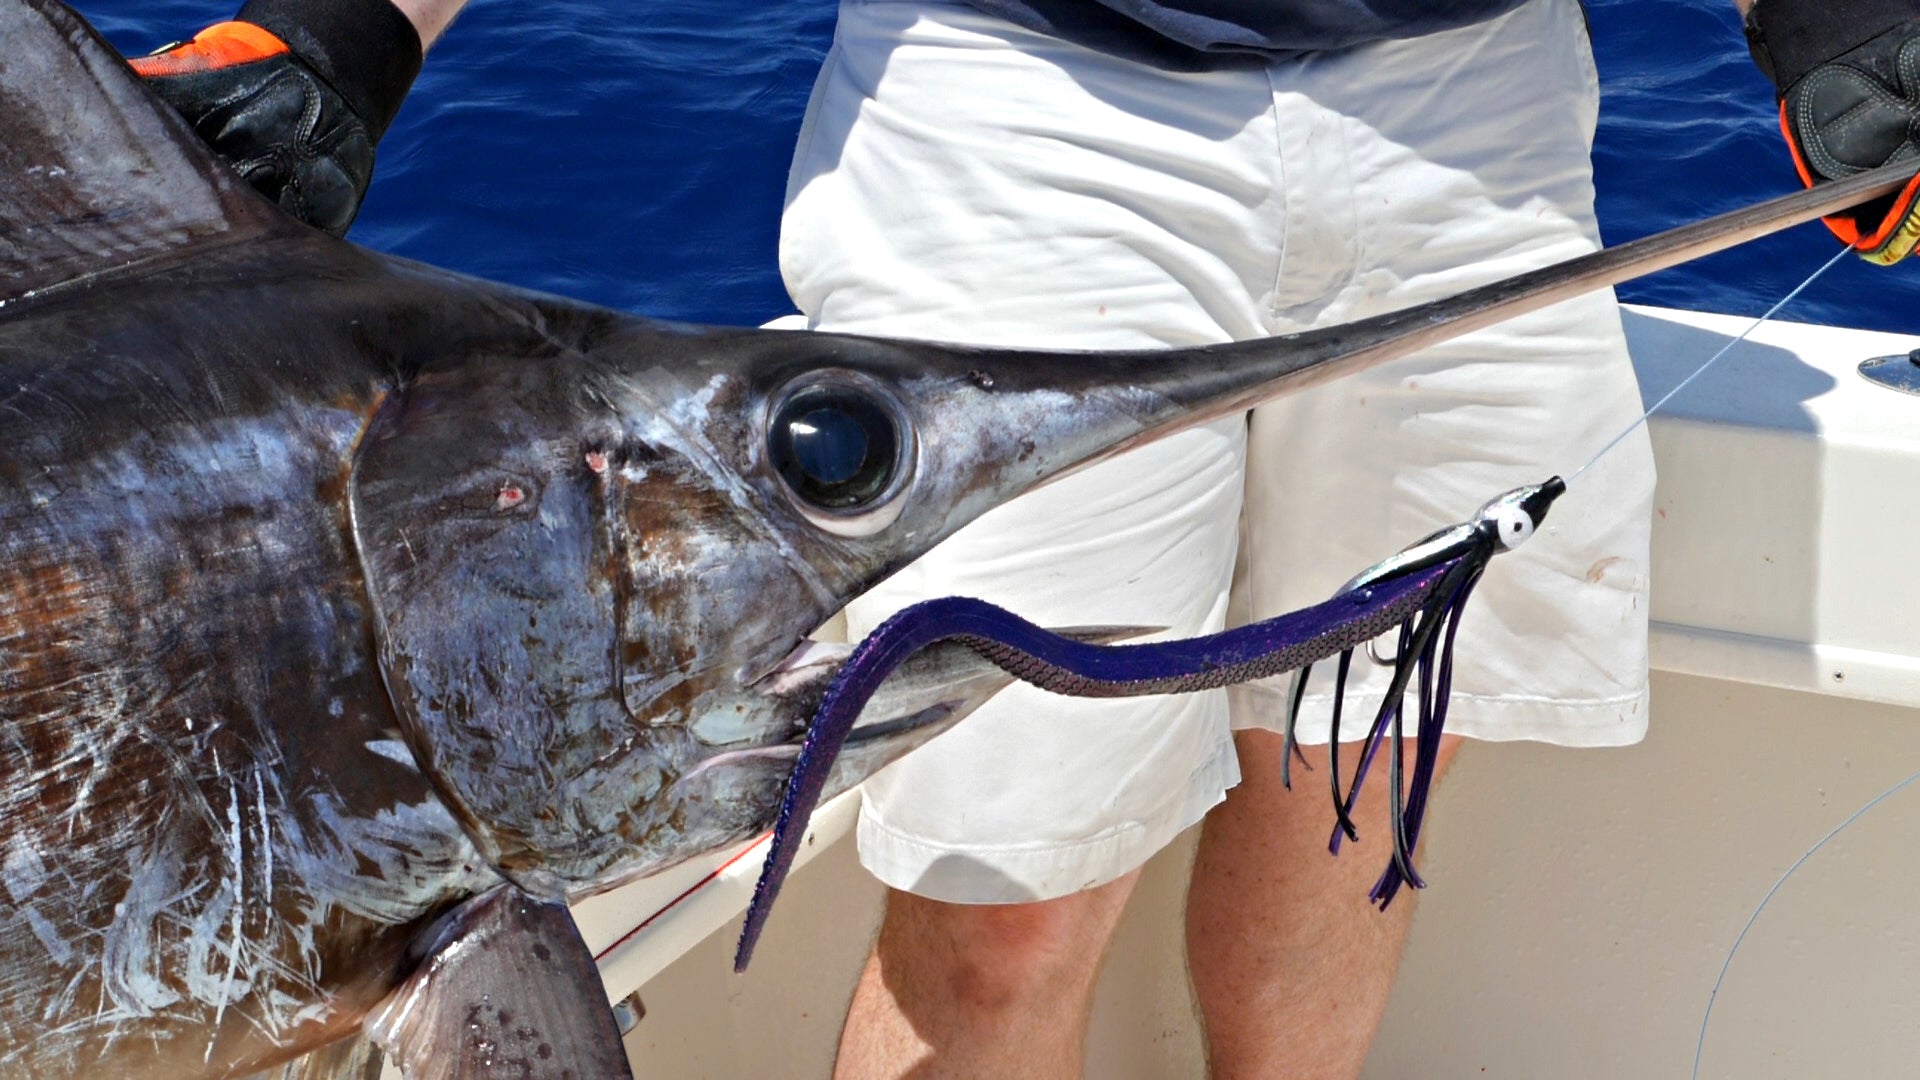
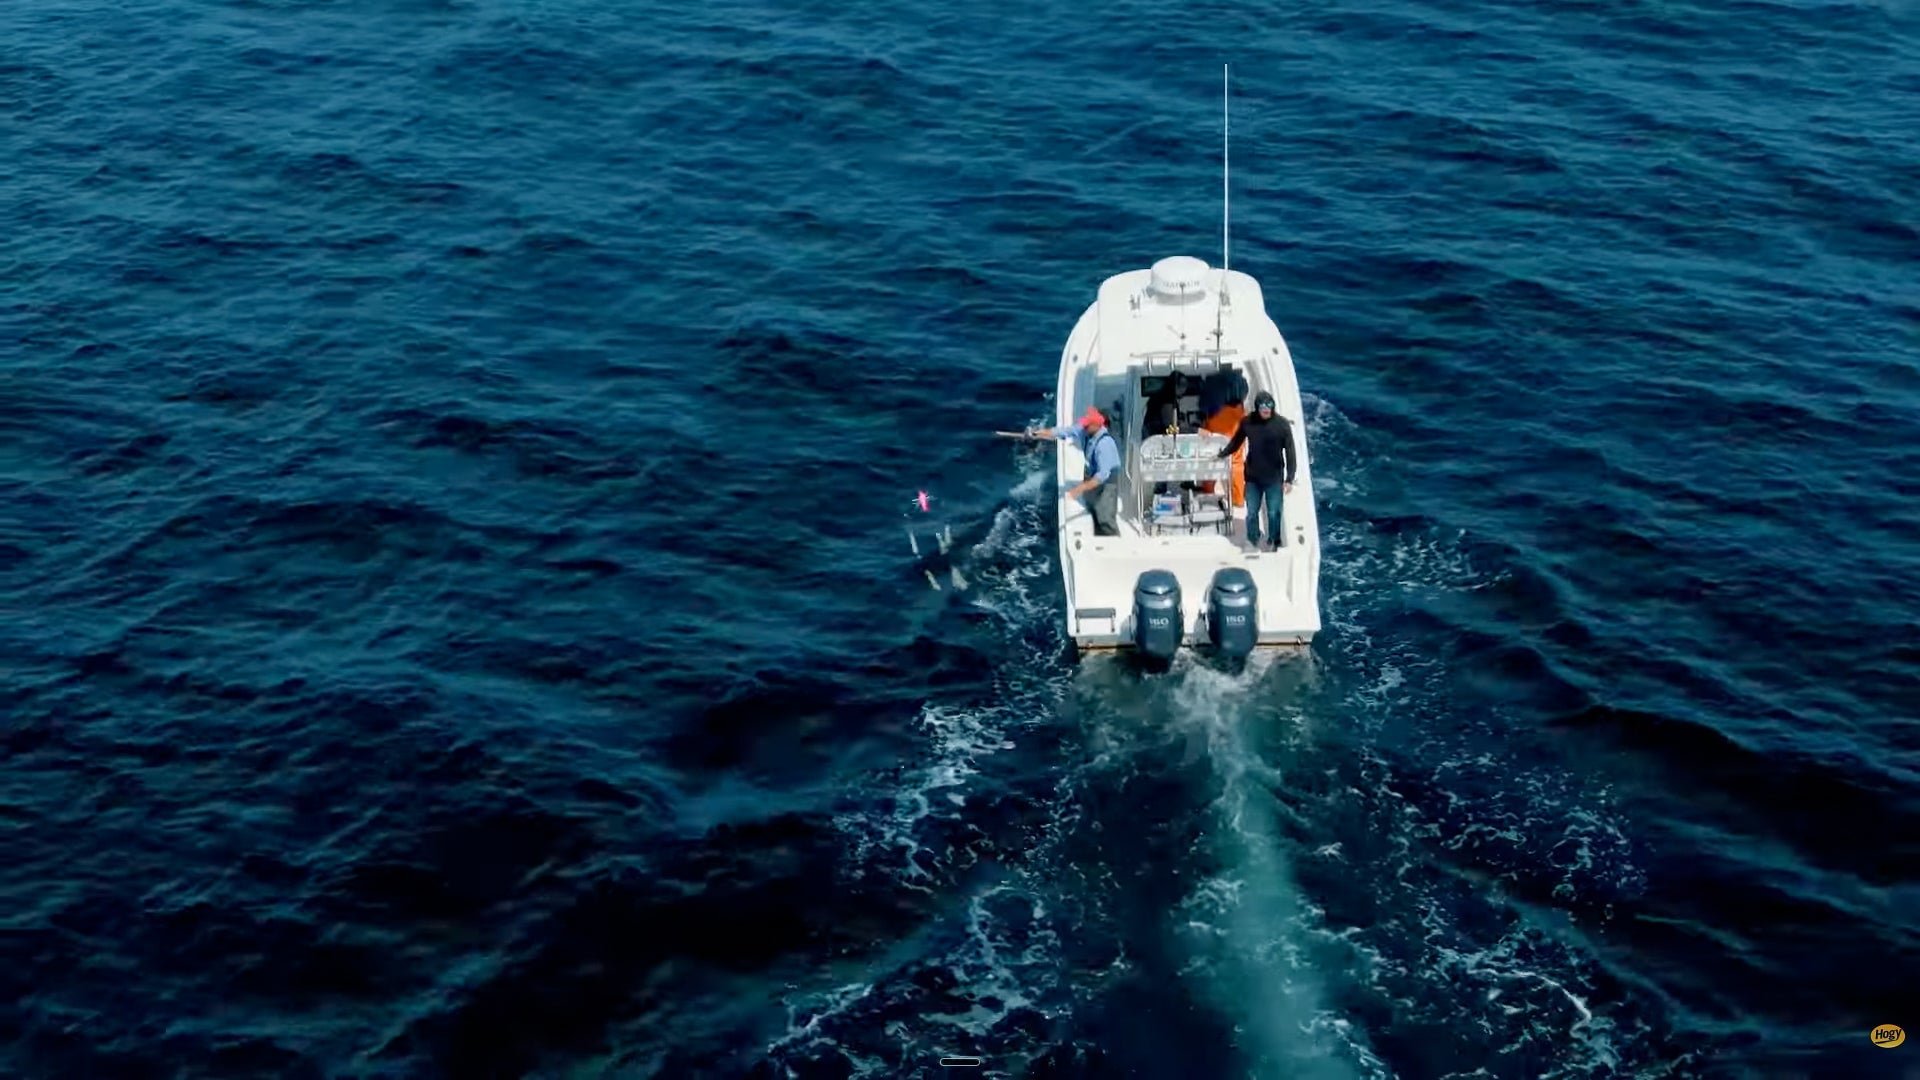
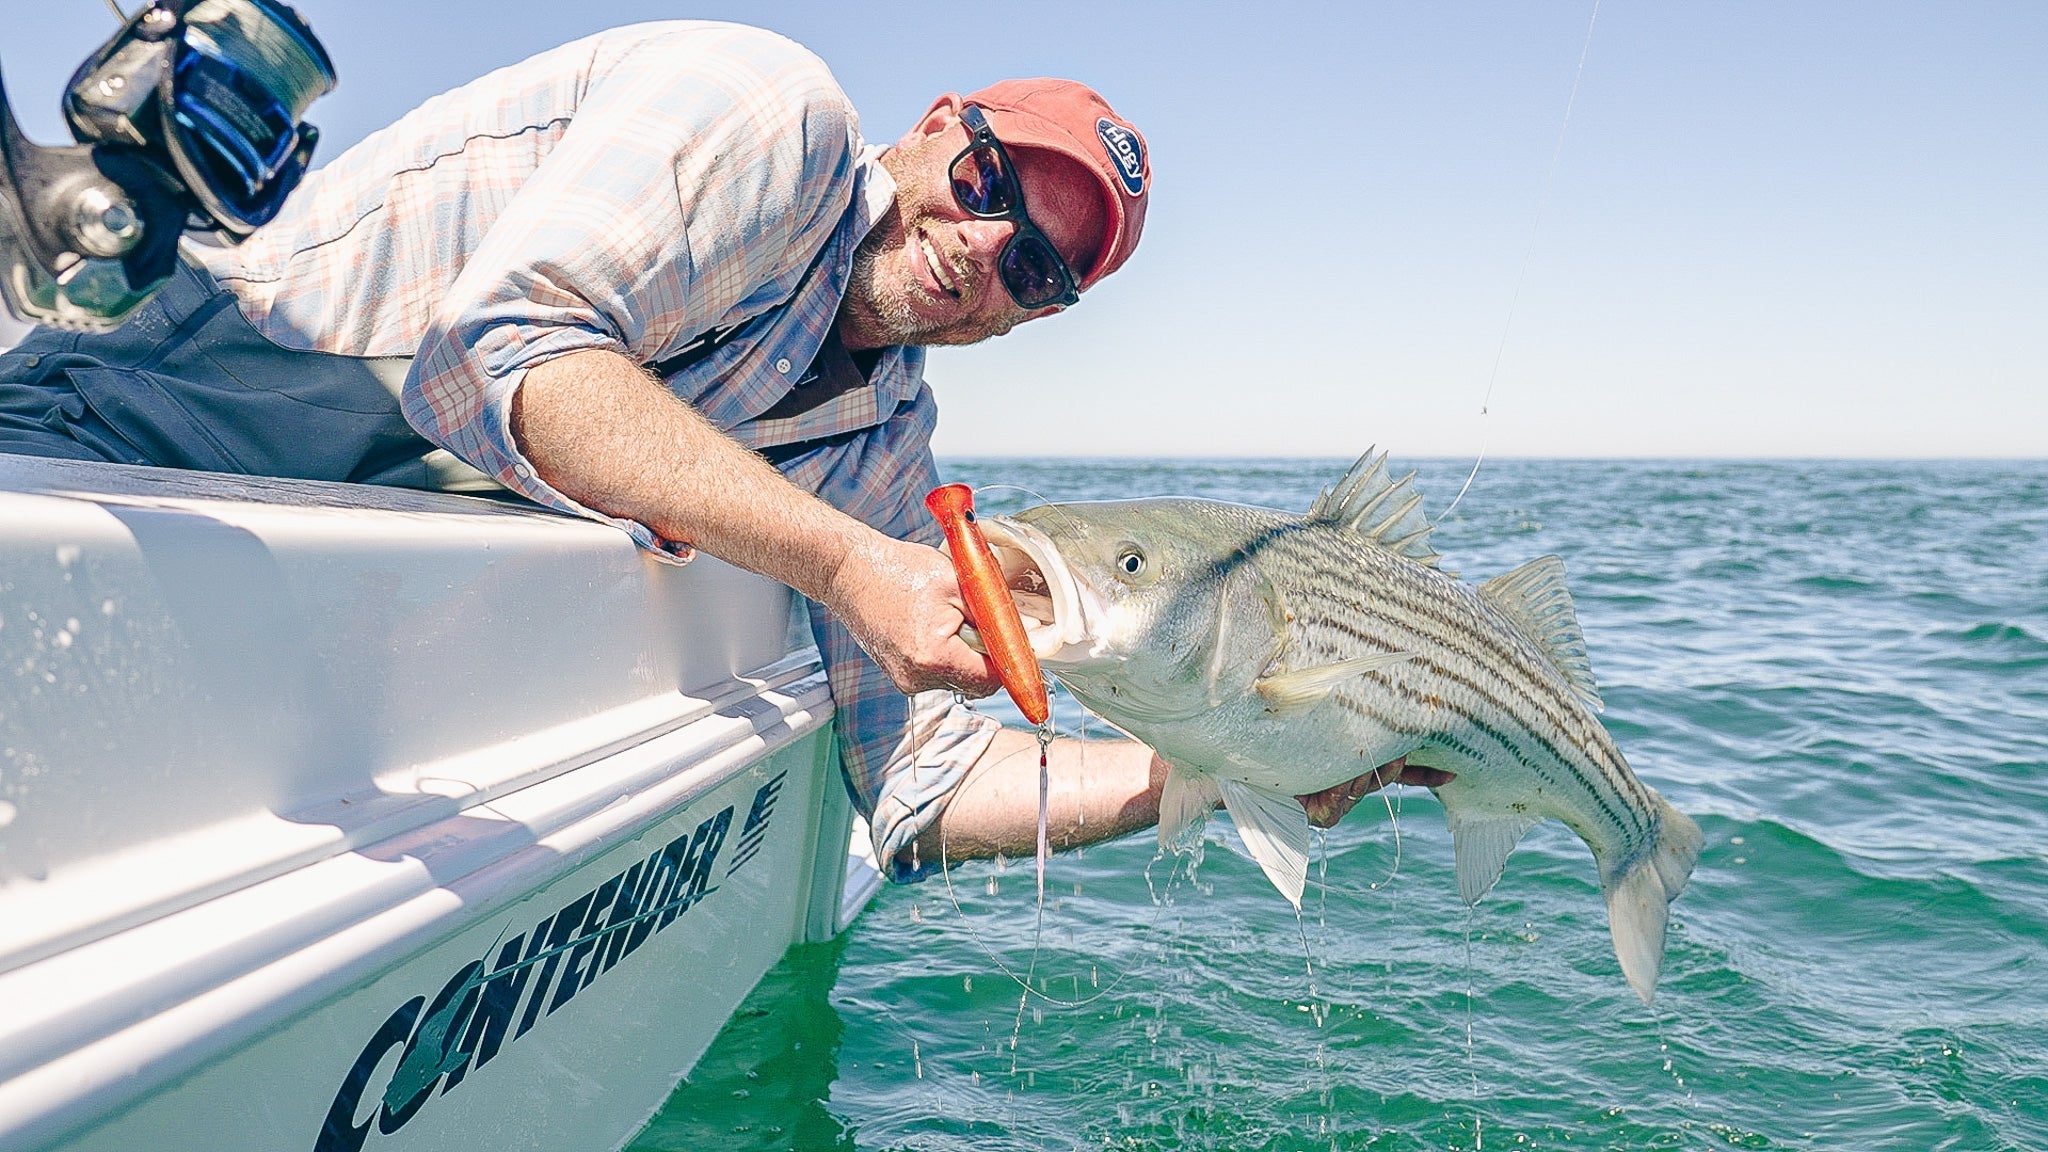
Everything below comes from a Florida day-drop trip we filmed with a commercial swordfish crew. We put an 18-inch soft-plastic eel into the zone, worked it the way the crew showed us, and hooked a sword twelve minutes later. The video shows every move in real time. This article gives you the numbers, gear specifications, and decision points behind the system.
Why Daytime, and Why I Start 100 Feet Off Bottom
The biology makes this program possible. Swordfish spend much of the daylight period deep, and productive daytime water often begins around 1,000 ft. Along the Mid-Atlantic and Northeast canyons, experienced crews commonly work water from roughly 1,000–1,600 ft, with fish also found well above the seafloor.
I use 100 ft off bottom as a clean starting station. It keeps the eel close to the structure while leaving room to lift, drop, and reset it. Every few minutes I touch bottom again and come back to that mark. The bottom check gives me the real depth, because current, wind, boat movement, and line scope keep changing what the counter means.
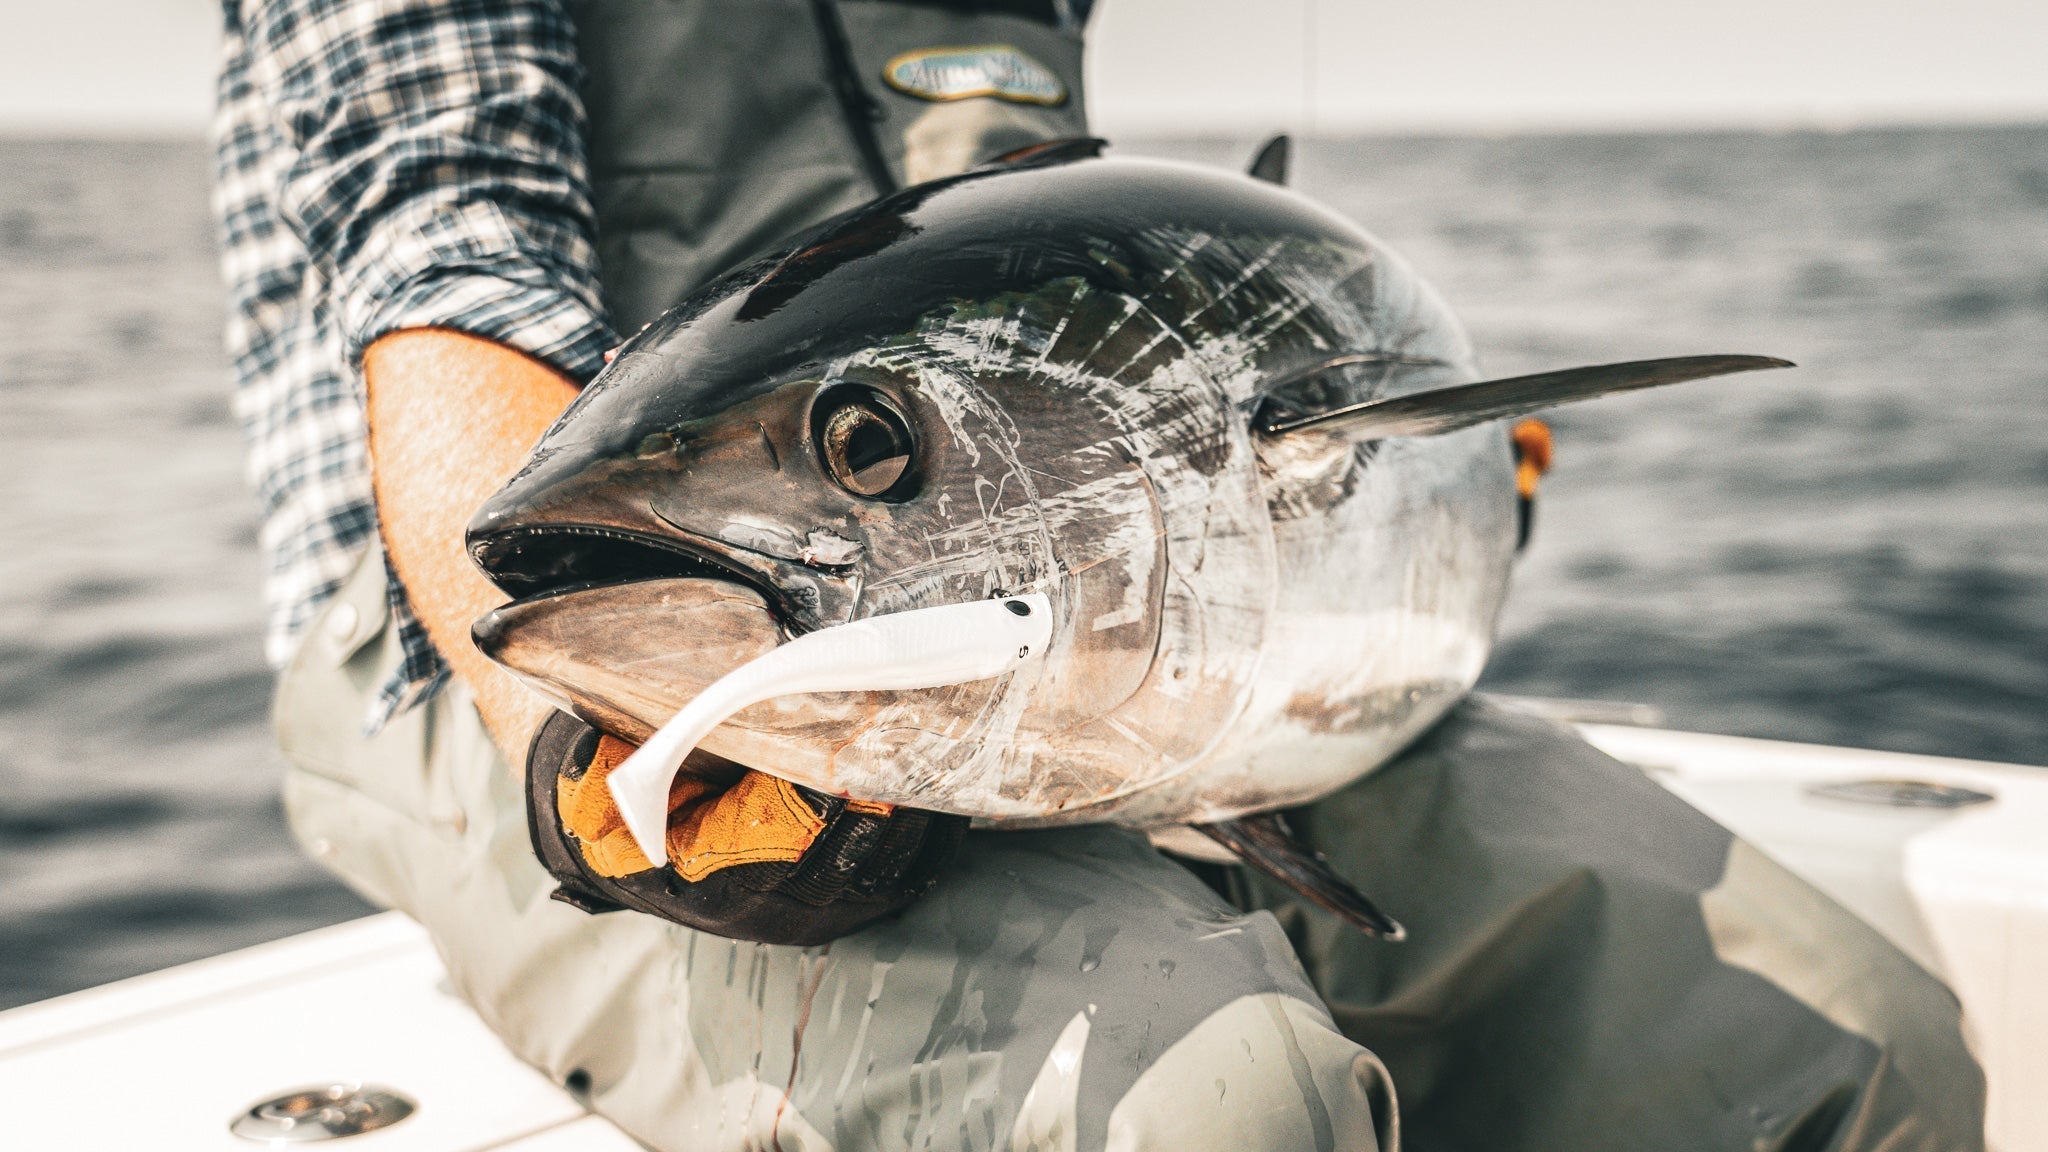
The artificial earns its place on the trip down. Squid, peckers, and missed swordfish strikes can ruin a natural bait before the crew ever knows it happened. That can mean a quarter-mile retrieve to inspect the bait, another rigging session, and another quarter-mile drop. A durable soft-plastic eel keeps its profile through a lot of that abuse and gives me confidence to keep fishing after a light slash or nuisance bite.
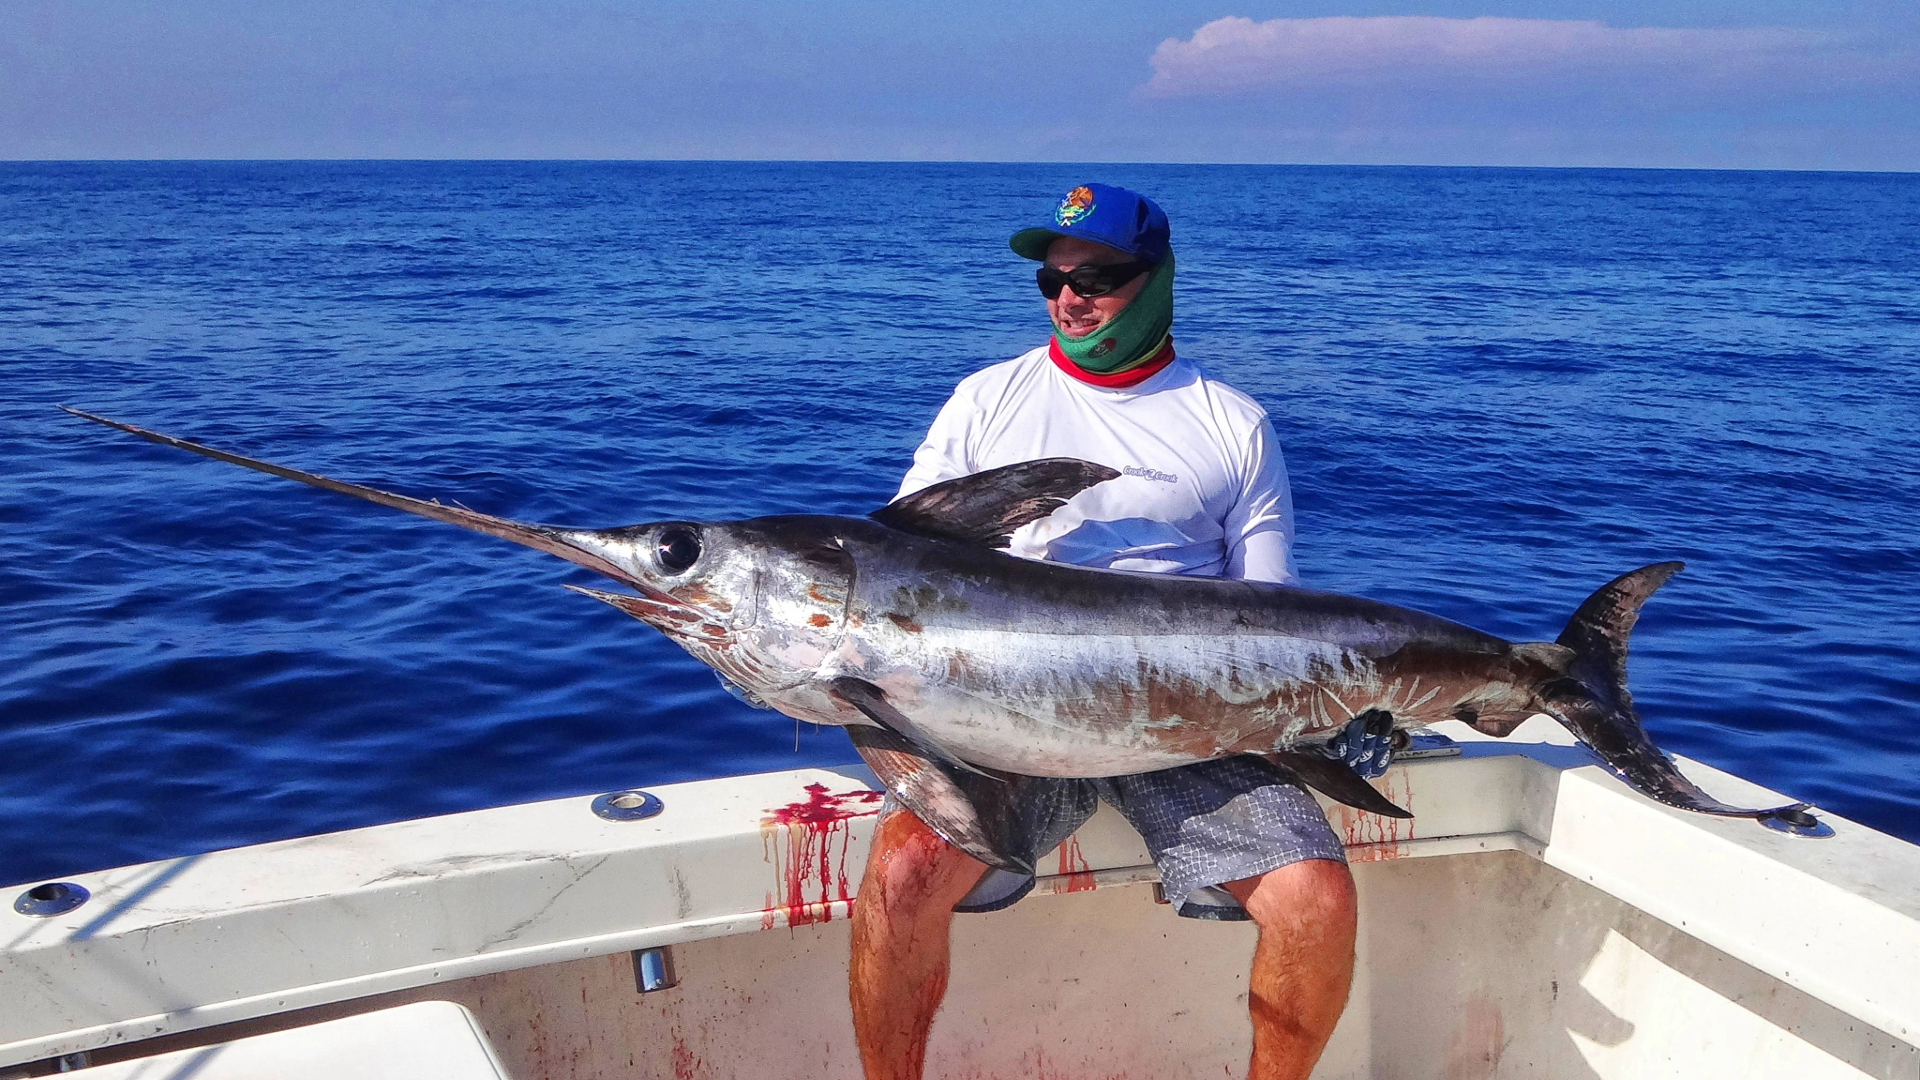
Capt. Corey Burlew reported five bites and two landed swords on his first day with the original 18-inch Hogy soft eel, followed by five bites and three landed swords on day two. He also reported getting two to three fish from a bait on average, and as many as four on a single soft plastic. A Virginia Beach team later described the same basic advantage: the bait kept fishing through pecker attacks and missed bites.
What I Want in the Eel
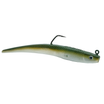
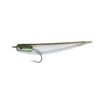
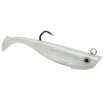
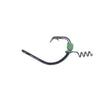
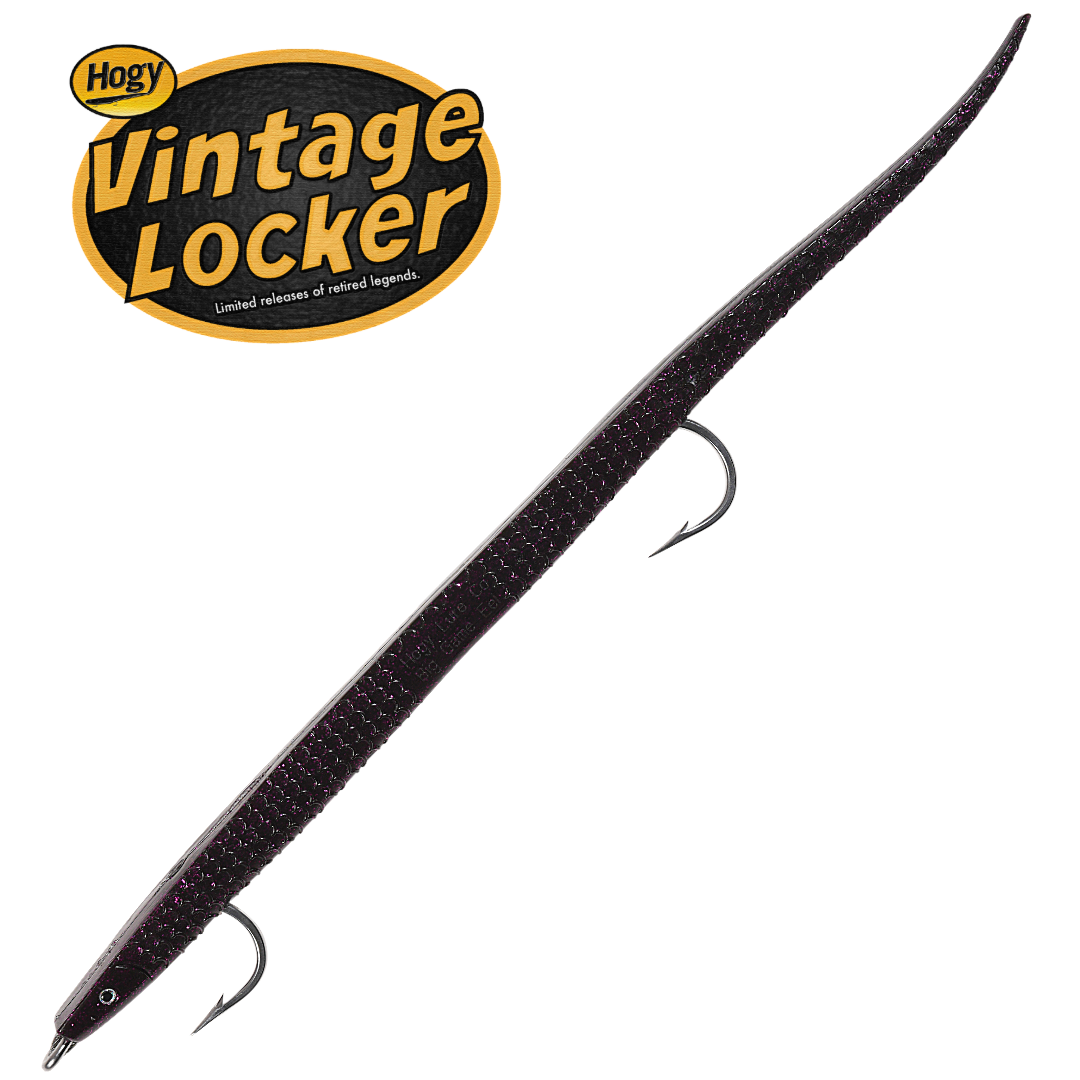
The current Hogy Swordfish Eel is an 18-inch deep-profile bait with the tandem rig molded into the body. Every piece has a job.
| Part | Starting specification | Job in the system |
|---|---|---|
| Body | 18-inch deep-profile soft plastic with UV material and iridescent flash | Creates a meal-sized silhouette and a flexible rise-and-fall action at depth |
| Hooks | Tandem 9/0 Mustad 7691S Knife Point J-style hooks | Gives two hook positions along the long bait and helps keel the presentation |
| Tandem connection | Bluewater-grade braided cable molded into the body | Carries big-game load while allowing the full bait to bend and swim |
| Skirt | Squid- or octopus-style stabilizing skirt over the nose | Keeps the eel tracking, covers the crimp, reduces tangles, and holds scent |
| Scent | Menhaden oil or another compatible attractant, used as desired | Adds another signal and gives the crew a confidence option. Depth and presentation still do the heavy lifting. |

Before the First Drop — Two Complete Outfits
The fishing part gets simple after the outfit, lead, structure, and weather window are matched.
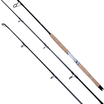
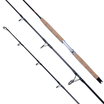
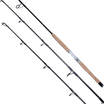
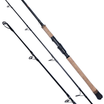
I like two clean electric-reel directions for this program: a compact Shimano BeastMaster-class outfit and a commercial LP S2-1200 outfit. Both need a purpose-built rod, enough braid, a solid holder, and a power system installed for the reel that is actually aboard.
| Component | Compact BeastMaster-class | LP S2-1200 commercial |
|---|---|---|
| Reel | Shimano BeastMaster 9000B, MD12000, or comparable high-capacity 12V electric reel with readable counter and manual handle | Lindgren-Pitman S2-1200 commercial 12V reel with electronic counter, stop-at-top control, levelwind, continuous deep-water duty |
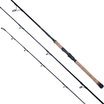
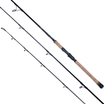
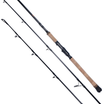
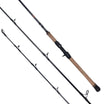
| Rod | 5′6″–6′ dedicated day-sword/deep-drop rod; 80–130 lb class; moderate tip; strong midsection and butt; gimbal or bent butt; builder-rated for the lead used | 5′6″–6′ commercial day-sword rod; 80–130 lb class; bent butt preferred; readable tip; heavy midsection and butt; builder-rated for repeated 8–16 lb lead work |
| Main line | 80 lb braid is a clean starting point. Carry enough for maximum depth and scope plus at least 30% reserve. Shimano lists 1,030 yd of 80 lb PowerPro on the 9000B. | 80–100 lb braid with maximum expected payout plus 30–50% reserve. Match spool, line, and counter calibration as one system. |
| Best fit | Owner-operator boats wanting a compact electric outfit for normal 1,000–1,600 ft work and moderate lead ranges | Crews making repeated drops, fishing heavier lead, or wanting a permanently installed commercial-duty system |
| Holder & tether | Through-bolted holder that fully seats the gimbal; reel or outfit tethered to the boat | Heavy through-bolted bent-butt holder; reel and rod tethered; clear path for line and terminal gear |
| Power | Use the exact Shimano cable, battery, fuse or breaker, and operating instructions for the reel model. Give the reel a dedicated, healthy power source. | Follow LP wire-gauge, breaker or fuse, connector, and battery instructions. Plan a recovery method before the first deep drop. |
The Rod Specification I Care About
Line class by itself does not tell me enough. I want a rod that shows the bite and still carries the weight. Here is what I would put on the rod-builder order:
Drop-Weight Sizing — My Starting Numbers
The lightest weight that gives a clean touchdown, lets me re-find bottom on command, and leaves enough movement in the tip to see a bite.
Depth, braid diameter, bait drag, surface current, deep current, and boat speed all change the amount of lead required. The table below assumes one streamlined eel on 80–100 lb braid.
| Observed drift / current | 1,000–1,300 ft | 1,300–1,600 ft | 1,600–2,000 ft |
|---|---|---|---|
| 0–1 knot | 4–6 lb | 6–8 lb | 6–8 lb |
| 1–2 knots | 6–8 lb | 6–8 lb | 8–10 lb |
| 2–3 knots | 8–10 lb | 8–10 lb | 10–12 lb |
| 3–3.5 knots | 10–12 lb | 10–12 lb | 12–16 lb |
| More than 3.5 knots | 12 lb or more | 12–16 lb or more | 16 lb or more; specialized setup |
These are field starting points. Thin braid, a clean bait, and a straight line let me use the lower number. More depth, bait drag, and scope push me toward the upper number. I move in 2 lb steps and let the line make the final call.
When Current Starts Running the Program
The number on the surface only tells part of the story. The water moving 1,000 feet down can be different, and the line shows it first. I watch touchdown, line angle, reset time, rod load, and how the crew handles the lead. When those pieces get ugly, I first change the boat angle, move farther up-current, work a shallower edge, or pick a cleaner lane. More lead is one tool, not the whole answer.
A day-drop program loses efficiency when the weight becomes difficult to move safely, bottom contact disappears, and the rod tip stays loaded hard enough to hide every small signal. The captain decides whether a different lane, depth, or weather window makes more sense for the boat and crew.
Finding the spot, measuring the drift, deploying the rig, and holding the working zone.
How I Find the Spot: Chart First, Sonar Second
I start with a piece of bottom I can cross on purpose. A canyon name covers too much water. I want a wall, hill, shoulder, spur, saddle, or turn in the contours that gives me a clear up-current starting point and a clear exit.
| Feature | What I look for on the chart |
|---|---|
| Canyon edge | Tightly packed contours along a wall. Turns, inside corners, and changes in contour spacing give the drift a specific target. |
| Pinnacle or hill | Closed contour rings with shallower water in the middle. I mark the crest and the up-current shoulder where the bottom starts to rise. |
| Spur or point | A nose of shallower contours reaching into deeper water. It creates an edge that can be crossed cleanly. |
| Saddle | A lower pass between two highs. It gives a repeatable lane between obvious features and can funnel current and prey. |
| Contour compression | Crowded depth lines show a steeper slope. Wide spacing shows flatter bottom. I use both to predict how quickly bottom will rise or fall under the drift. |

The three waypoints: the high or edge, the up-current deployment start, and the down-current exit. The deployment waypoint belongs ahead of the structure.
- Turn on relief shading or fishing contours and highlight the depth band you plan to fish. For this program, 1,000–1,600 ft is a practical place to begin.
- Mark three points: the high or edge, the up-current deployment start, and the down-current exit. The deployment waypoint belongs ahead of the structure.
- Make a clean survey pass before dropping. Use low-frequency or low-CHIRP sonar with bottom zoom or bottom lock. Confirm the shape and depth change. A perfect sword mark is a bonus.
- Put the boat in neutral for 3–5 minutes and record speed over ground and drift direction. That gives you the surface set for the first drop.
- Estimate deployment travel. Drift speed in knots × descent time in minutes ÷ 60 = approximate nautical miles traveled. At 3.5 kts and an eight-minute descent, the boat moves about 0.47 nm.
- Run one clean lane, save the track, and repeat it. The second pass should already be better.
- Complete the chart pass, measure the drift, and start up-current of the marked feature. Use the descent-distance formula for the first setup, then correct it from the actual track.
- Choose the lead from the weight table and confirm the rod, holder, reel, power supply, clip, and crew are ready for that weight.
- Deploy with the current. Feed the eel and leader under control, pausing about every 100 ft so the rig straightens and the body stays clear of the line.
- At the pre-formed loop, clip on the sinker and ease it into the water. Announce the weight so the deck stays clear.
- Free-spool the rest of the way with light control. Watch the chart depth, counter, tip, and line angle together.
- Touchdown shows as the tip going slack. Engage the reel right away. When the counter runs far beyond chart depth, look at scope, lead size, the bottom contour, and counter calibration.
- Bring the rig up about 100 feet. On the LP setup in our video, roughly 120 counter revolutions equaled about 96 ft. Every reel, spool, and line combination needs its own calibration.
- Slow-troll against the current. The filmed system used about 1.4–1.6 kts over ground as a starting pace. Adjust to hold the lane and keep a readable rhythm in the tip.
- It proves where the eel is. Current, wind, changing bottom, and line scope constantly move the true depth.
- It gives the body action. The sinker pulls the eel down; the lift lets the full 18-inch body rise and undulate.
- It keeps me engaged with the rod. Many sword bites are one small tap outside the established rhythm.
- It diagnoses the drift. A reset that suddenly takes longer can mean falling bottom, more current, or a changing line angle.
The rig, the lights, reading the bite, and endgame. Everything from the rod tip down.
- Inspect the eel from nose to tail. Straighten any kink, check hook points, and confirm the braided cable moves freely inside the body.
- Run 5–7 feet of 250–300 lb premium monofilament forward from the bait. The crew in our video used 250; 300 lb gives more abrasion margin and a substantial leader for the handoff.
- Crimp the leader to a stout swivel. A 600 lb swivel is the simple standard. A high-quality 300–400 lb swivel can work when the whole system is matched and tested.
- Above the swivel, run the wind-on leader section and roughly 160 ft of 250 lb top shot.
- Build a pre-formed loop near the wind-on/top-shot transition. The longline clip for the sinker attaches here and comes off here at endgame.
- Work menhaden oil or another compatible scent into the body and under the skirt when you want it. Scent is an added signal and a confidence step.
- First light: 45–50 ft above the eel.
- Second light: about an arm’s length above the first. Two or three lights is a common range; local crews have their own preferences.
- Wrap a light rubber band tightly around the leader, pass one loop through the other, and slip it over the light.
- Test the band before the drop. It needs to hold on the way down and break or slide cleanly when it reaches the rod tip.
- Keep spare lights and bands rigged. A damaged band is cheap to replace and expensive to trust for another deep drop.
- On a subtle tap, bring the sinker up about 10 ft, then return to bottom and reset. The eel follows it down with a natural undulation.
- On a hard bump, go straight back to bottom and reset to 100 ft for a more aggressive second presentation.
- Watch the line as much as the tip. Slack during retrieval can mean the sword is swimming up with the bait. Keep gaining line until you come tight or prove the fish is gone.
- Once tight, settle into steady pressure. I want connection early in the fight, with enough drag to gain line and enough give to protect the hook hold.
- With an electric reel, keep one crew member actively watching the rod, counter, line, and reel. Override or stop the retrieve before lights, swivels, clips, or knots reach the tip.
- Expect the fish to change in the brighter upper water. A sword that felt quiet at depth can jump, charge the boat, or turn into a completely different fish in the last hundred feet.
- As the leader approaches, the rubber bands break or release at the tip and the lights slide toward the swivel.
- When the sinker reaches the surface, stop the reel, control the weight, unclip it, and move it to a secure place immediately.
- Assign one leader person, one gaff or harpoon person, and one captain. Everyone else stays clear of the working lane.
- Make the keep-or-release decision before secondary gear comes into play. Confirm legal size and current rules before a harvest shot.
- Treat the last hundred feet as the most active part of the fight. A swordfish beside the boat still has a bill, speed, and plenty of leverage.
Troubleshooting the Drop
Most problems show up in one of three places: the eel comes back tangled, the crew loses bottom, or the boat loses control of the line. Fix the symptom before committing to another full drop.
| What I see | Most likely cause | What I change |
|---|---|---|
| Eel comes back tangled | Fast or slack descent; light or leader crossed; boat turned across the line; skirt or body kinked | Straighten or replace the eel, inspect every light, deploy with the current under tension, and pause through the descent |
| I cannot prove bottom | Lead too light, bottom falling away, too much scope, counter error, or sounder lost bottom | Compare chart and sounder depth, move up-current, add 2 lb, slow the drop, or work shallower water |
| Touchdown disappears right away | The boat crossed the edge, drift changed, or the bottom dropped away | Return to the saved track, shorten the pass, and reset more often over the feature |
| Line angle gets beyond roughly 45° | Current, boat speed, bait drag, or lead size is taking over | Align the boat, reduce speed over ground, move up-current, add one lead step, or choose a cleaner depth or lane |
| Rod tip stays buried | Lead/current load is too high or the rod is too soft | Reduce the load, change depth or lane, and use a rod rated for the actual sinker |
| Weight or clip fails | Chafed loop, damaged clip, side load, or uncontrolled entry | Rebuild the loop, replace the clip, lower the lead into the water, and inspect the attachment after every hard retrieval |
| Electric reel slows or stops | Low battery, voltage drop, undersized wiring, corrosion, overload, or a line-path jam | Stop the reel, reduce load, inspect the line path and power system, and use the recovery plan for that reel. Keep the fuse or breaker in the circuit. |
| Counter does not match depth | The counter measures payout rather than vertical depth; spool diameter or line setup may be off | Use bottom contact as truth, calibrate the reel, and record the working counter numbers for each outfit |
| I get bites without a hookup | The fish is slashing, hooks are fouled, bait is damaged, or the response timing is off | Run the reset sequence, maintain steady pressure, and inspect the body and hook orientation after repeated contacts |
Safety: Your Boat, Your Crew, Your Call
Day dropping combines heavy lead, powered reels, loaded braid, a long leader, and a live swordfish in an offshore environment. Every captain makes the final call for his own boat. Match the trip to the weather, fuel, communications, equipment, and experience aboard.
- Check the offshore forecast, fuel range, VHF/DSC, EPIRB, flotation, distress gear, first-aid kit, and float plan before leaving the inlet.
- Keep the deck clear whenever the sinker moves. Announce the weight, stay outside its swing, and keep braid, leader, buoy line, and harpoon line off hands, legs, and cleats.
- Install the electric reel to the manufacturer’s instructions. Use the specified wiring and circuit protection, tether the outfit, slow the reel before hardware reaches the tip, and disconnect power before clearing a jam.
- Assign the leader, gaff, and harpoon jobs before the fish reaches the surface. Flake harpoon line in a clean container and keep the crew out of loops, the shot path, and the fish’s bill.
- Decide keep or release before endgame. Keep a release fish in the water and use a release plan that avoids harvest gear.
Those points are the baseline. The complete safety plan belongs to the captain and should match the actual vessel, crew, sea state, and gear.
Regulations: Atlantic U.S. Starting Point
Atlantic federal recreational baseline reviewed August 19, 2026. Trip-planning information only — check NOAA’s live status page, permit conditions, state rules, and tournament rules again before fishing. The stricter rule controls when more than one set applies.
| Item | Atlantic federal recreational baseline |
|---|---|
| Permit | A private recreational vessel targeting Atlantic swordfish needs a valid HMS Angling permit. The vessel permit covers the people fishing aboard. For-hire vessels need the applicable HMS Charter/Headboat permit. |
| Private size and bag | Minimum 47 in lower-jaw fork length (LJFL) or 25 in cleithrum-to-caudal-keel (CK). Limit: 1 swordfish per person, up to 4 per vessel per trip. |
| Charter and headboat | Charter: 1 per paying passenger, up to 6 per vessel per trip. Headboat: 1 per paying passenger, up to 15 per vessel per trip. |
| Reporting | Report recreational swordfish landings to NOAA within 24 hours. When a fish is entered in a registered HMS tournament, the tournament operator reports it. |
| Landing and release | A swordfish may be headed and gutted but may not be cut into pieces at sea. A fish that will not be kept must be released immediately without removing it from the water. |
| Electric reels | The HMS guide defines rod and reel to include a manually or electronically operated reel. Tournament, record, and association rules can be more restrictive. |
| J-hook / circle hook | The federal swordfish section authorizes handline and rod-and-reel gear without a separate J-versus-circle requirement. The non-offset circle-hook language many anglers remember appears in the Atlantic billfish tournament section for marlin, spearfish, and sailfish using natural or mixed bait. |
| Shark possession conflicts | Great, smooth, and scalloped hammerheads cannot be possessed while swordfish are possessed. A live porbeagle must be released unharmed when swordfish are retained, possessed, or offloaded. Prohibited sharks must be released. |
Quick Reference — Numbers I Want Aboard
| Setting | Starting number or operating note |
|---|---|
| Soft-plastic eel | 18 in deep-profile body; inline tandem rig; two 9/0 Mustad 7691S hooks; braided cable; stabilizing skirt |
| Compact reel option | Shimano BeastMaster 9000B / MD12000 class or comparable high-capacity 12V electric reel |
| Commercial reel option | LP S2-1200 with counter, stop-at-top control, levelwind, and manufacturer-spec power installation |
| Rod | 5′6″–6′ dedicated day-sword/deep-drop rod; 80–130 lb class; readable tip; strong mid/butt; gimbal or bent butt; rated for the lead |
| Main line | 80–100 lb braid; maximum payout plus at least 30–50% reserve |
| Leader off bait | 5–7 ft of 250–300 lb premium mono |
| Swivel | 600 lb simple standard; quality 300–400 lb can work when matched to the full system |
| Top shot | About 160 ft of 250 lb |
| First light | 45–50 ft above the eel; second light about an arm’s length above |
| Light attachment | Light rubber bands used as breakaways/sliders |
| Starting lead | Roughly 4–6 lb in light/shallow water, 6–10 lb through normal conditions, 10–16 lb or more in deep/strong current; the line decides |
| Structure lead | Drift speed in knots × descent minutes ÷ 60 = approximate nautical miles moved during deployment |
| Working zone | Start about 100 ft off bottom and prove it with repeat bottom checks |
| Working pace | About 1.4–1.6 knots over ground against the current as the filmed system’s starting pace |
| Subtle tap | Raise about 10 ft, then return to bottom and reset |
| Hard bump | Return to bottom immediately, then reset to 100 ft |
| Private Atlantic retention | 47 in LJFL or 25 in CK; 1/person, up to 4/vessel/trip; report within 24 hours |
Why the Artificial Earns Its Spot
The artificial gives me a swordfish bait that can live in the offshore kit. It needs no freezer, no thawing, and no sewing at the dock. It holds together through a lot of the squid, peckers, and missed strikes that can end a natural-bait drop. That means more confidence in the presentation and more minutes fishing the zone.
The history backs up the basic idea. Burlew’s first two days produced ten bites and five landed swords on the original 18-inch soft eel. A Virginia Beach crew used it for the durability advantage. Off Oregon Inlet, Ryan Keany’s crew caught a 528 lb swordfish on an 18-inch Hogy Eel with a squid tube and skirt, using an 8 lb sinker in about 180 fathoms. The electric reel kept the catch out of the state-record book — a good reminder to separate federal fishing legality from tournament and record rules.
If you want the deployment-ready version of the bait in this guide, that is exactly what we built the Hogy Perfect Sword Eel to be.

Find one piece of bottom you can cross on purpose. Measure the drift. Put a straight soft-plastic eel into the water with enough lead to prove bottom. Start about 100 feet up, run your checks, and answer every unusual tap with a controlled reset. The fish in our video ate twelve minutes after the eel reached the zone because the crew kept the bait where it belonged.
That is the whole system: one good outfit, one durable eel, a clean drop, and the discipline to keep proving the depth.
Regulations, weather, and equipment instructions should be checked again before the trip.

Leave a comment
All comments are moderated before being published.
This site is protected by hCaptcha and the hCaptcha Privacy Policy and Terms of Service apply.